
Ford F-350 Lug Nut Torque by Year for Single and Dual Rear Wheels

Ford’s 2026 Super Duty manual lists 150 lb-ft (204 N·m) for the factory M14 × 1.5 wheel hardware it covers. The 2019 U.S. manual lists 165 lb-ft (224 N·m) for the same listed thread size. The Ford F-350 lug nut torque chart below shows why the model year and wheel hardware matter. For the factory F-350 examples in the chart, Ford gives one torque entry and explains the single and dual rear wheel recheck intervals separately.
Match the model year, manual edition, wheel type, and fasteners before setting a torque wrench. If the truck has aftermarket wheels, an axle swap, an adapter, or different studs, get the applicable installation specification from the relevant manufacturer or a qualified shop. The chart records factory documentation for selected model years.


Ford F-350 lug nut torque chart for selected model years
| Model year | lb-ft | N·m | SRW recheck | DRW recheck | Ford reference |
|---|---|---|---|---|---|
| 2004 | 150–165 | 200–225 | 500 mi after wheel work | 100 mi and 500 mi | Owner’s Guide, second printing, p. 210 |
| 2008 | 150 | 200 | 500 mi after wheel work | 100 mi and 500 mi | Owner’s Guide, third printing, p. 317 |
| 2012 | 165 | 224 | 100 mi after wheel work | 100 mi and 500 mi | Owner’s Guide, third printing, p. 346 |
| 2016 | 165 | 224 | 100 mi after wheel work | 100 mi and 500 mi | U.S. online manual, Wheel Lug Nut Torque Specifications |
| 2019 | 165 | 224 | 100 mi after wheel work | 100 mi and 500 mi | U.S. Owner’s Manual, August 2019 edition |
| 2020 | 150 | 204 | 100 mi after wheel work | 100 mi and 500 mi | U.S. Owner’s Manual, first printing, p. 432 |
| 2025 | 150 | 204 | Within 100 mi after wheel work | 100 mi and 500 mi | U.S. Owner’s Manual, first edition, p. 540 |
| 2026 | 150 | 204 | Within 100 mi after wheel work | 100 mi and 500 mi | U.S. online Super Duty Owner’s Manual, Wheel Nuts |
Each row reproduces the values and timing from the named Ford publication. Read across the exact row first. The earlier manuals cover several Super Duty models in one book, so make sure the procedure, wheel type, and figure apply to the F-350. One manual may show several wheel illustrations or instructions for vehicles with different hardware. The heading and accompanying notes identify when each applies.
Ford’s 2004 guide gives a range of 150–165 lb-ft. Later examples give a single value. A range printed in an older manual does not allow you to choose a value for a truck that has its own fixed specification. A 2019 truck and a 2020 truck in this chart share the listed thread designation and have different torque values. Confirm the correct model year from the vehicle documentation instead of inferring it from the appearance of the wheel or the year it was sold.
The 2008 Ford guide pairs 150 lb-ft with 200 N·m. The 2020, 2025 and 2026 examples pair 150 lb-ft with 204 N·m. Those are the values as printed in their respective tables. If your wrench and the manual use different units, read the manual’s published entry for the scale you use. Avoid mixing unit pairs or rounding an earlier manual’s figure upward by borrowing a figure from a later edition.
Single rear wheel and dually recheck schedules


An SRW truck has one wheel on each end of the rear axle. A DRW truck carries two at each end. In the selected Ford tables, rear wheel arrangement changes the recheck instructions. The 2004 and 2008 SRW guides specify a recheck after 500 miles following a wheel disturbance. The 2012, 2016, 2019 and 2020 examples specify 100 miles. The 2025 and 2026 examples put the general wheel-work check within 100 miles.
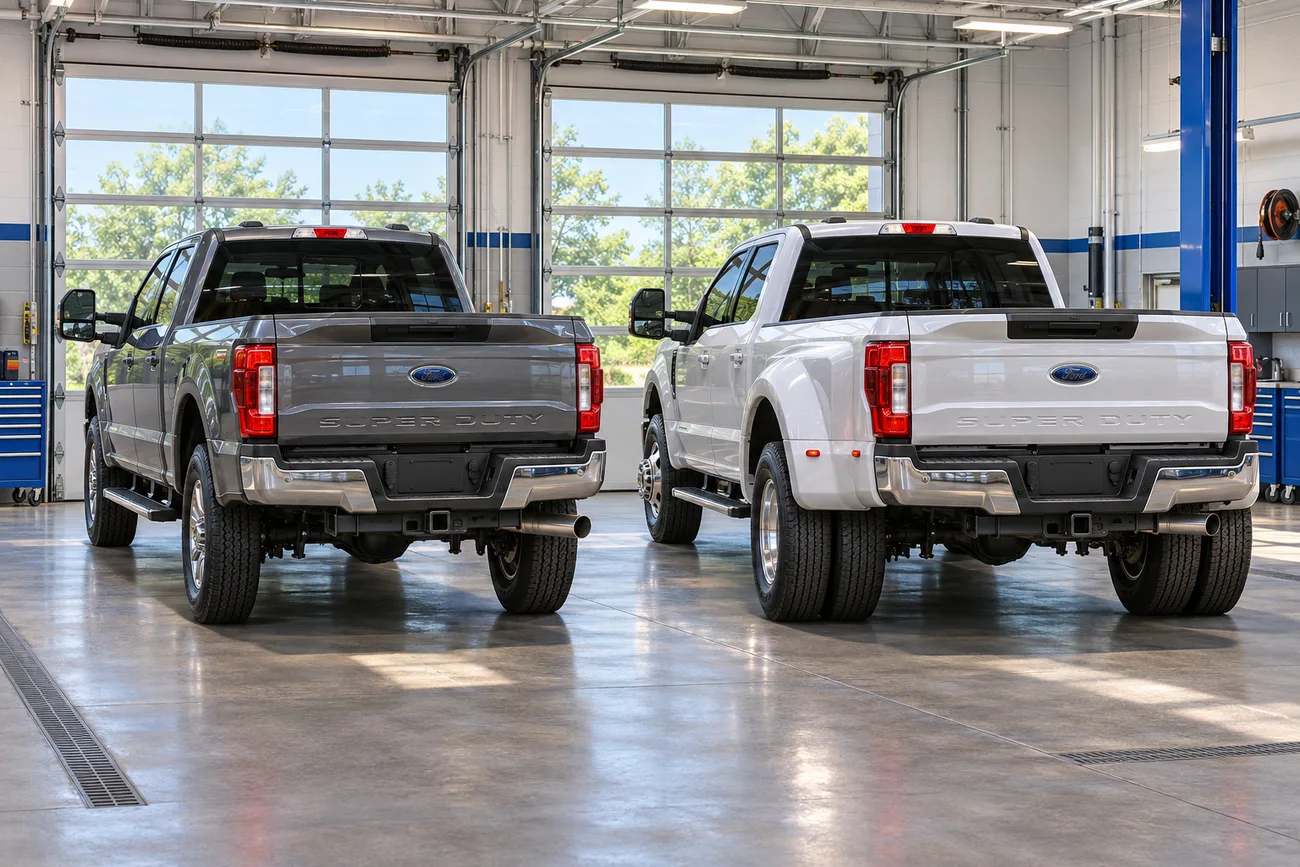
A service ticket may say that the front tires were rotated without describing what happened at the rear. For an SRW truck, find out which assemblies were moved. On a dually, ask whether the shop removed either rear wheel pair and whether it reused the same hardware. Confirm who will perform the recheck and what mileage the shop recommends using from the manual. That short conversation helps you avoid missing a recheck when you and the shop describe the same job differently.
The dually rows call for rechecking at 100 miles and again at 500 miles during new-vehicle operation and following wheel disturbances. Wheel disturbance includes a rotation, a flat-tire change or removal and refitting during service. If your rear wheels came off for brake work, the same recheck guidance applies even though the shop never replaced a tire. Ask the installer which wheels were disturbed and whether any hardware was changed.
If wheel work finishes with the odometer at 62,300 miles, the two recheck points for a dually following the 100- and 500-mile directions are about 62,400 and 62,800. Record both as you leave the shop. A loaded trip can make 100 miles arrive quickly, so plan for access to the appropriate torque wrench or a service shop. Start mileage from the work that disturbed the wheels, as directed by the manual.


If a shop installed the wheels and you are returning for a recheck, bring the invoice and the specification you identified. Ask the shop to inspect any wheel that will not hold torque or has a damaged fastener. A repeated loss of clamping is a reason to assess the mounting surfaces and hardware. Increasing the setting beyond the specified torque risks damaging parts and does not address a mounting problem.


Check your wheel hardware before you use the chart


Start with the Ford manual supplied for your truck and open the wheel-changing or roadside emergencies chapter. Check the vehicle details on the cover or on the online manual selector. Confirm that the figure and hardware notes apply to your truck. Used trucks may have replacement manuals, and a previous owner may have changed the wheels or wheel studs. Compare the actual configuration with the documentation and ask Ford or the installer when the match is unclear.
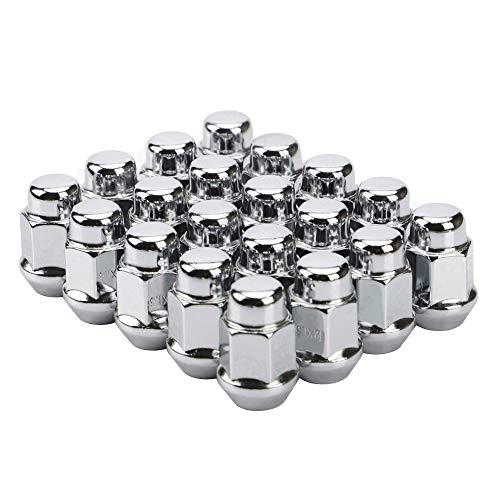
M14 × 1.5 identifies a nominal thread size and pitch in the listed examples. It gives you part of the fastener identification. A replacement nut also has a seat, an overall length and, on some designs, a washer or flange. A socket that fits the nut tells you the size of its hex only. Verify the contact shape and hardware compatibility with the wheel maker or installer before using an unfamiliar nut.
Inspect the condition of the wheel, fasteners, and mating surfaces before installation. Ford’s tables assume threads that are free of dirt and rust. The wheel must sit correctly against its mounting surface. If you find damaged threads, a wheel that will not seat, a loose captive washer, or visible damage around a nut hole, stop and have the fit checked before driving. On a dual rear setup, correct mating of the inner and outer wheel assembly matters as well.


Certain Ford manuals, including the 2004 and 2019 examples, address oil at the interface between the nut and flat washer on a specified two-piece flat wheel nut. Keep that instruction specific to the named fastener and follow the Ford guide for your truck. The instruction to oil that interface does not extend to the stud or wheel nut threads. Apply the manual’s exact directions for the hardware installed.
Avoid substituting the pickup wheel specification for an F-350 chassis-cab upfit, a vehicle with nonfactory wheel hardware, or a visually similar F-450. The right figure comes from the instructions for that particular wheel and mounting system. If a body builder or wheel manufacturer has supplied different directions for a modified setup, confirm the correct procedure for the complete assembly before servicing it.
Use the Ford tightening pattern and a suitable torque wrench
Ford’s road-wheel replacement section shows the tightening sequence for the hardware it covers. Pick the illustration that matches your actual wheel and follow the model-year procedure for when to lower the vehicle and finish tightening. Older Super Duty manuals may show both eight- and ten-lug diagrams. The additional picture reflects the wider model coverage of the book. Count and identify your hardware before selecting a sequence.
Wheel fastening starts with a correctly seated wheel and the approved fasteners. Follow the manual’s instructions for starting and snugging the wheel nuts, then use a calibrated torque wrench in the specified order for the final setting. The visual pattern controls the order around the wheel. The torque figure controls the final setting. Both are part of the installation.
Check the wrench scale before starting. Read lb-ft if you are using a value from the lb-ft column and N·m if you are using a metric wrench with the Ford metric value. The tool needs a suitable range for the selected target. Follow the wrench manufacturer’s directions for calibration, adaptors and how to apply force. If the wrench or socket will not fit the wheel properly, have the correct tools brought to the vehicle.
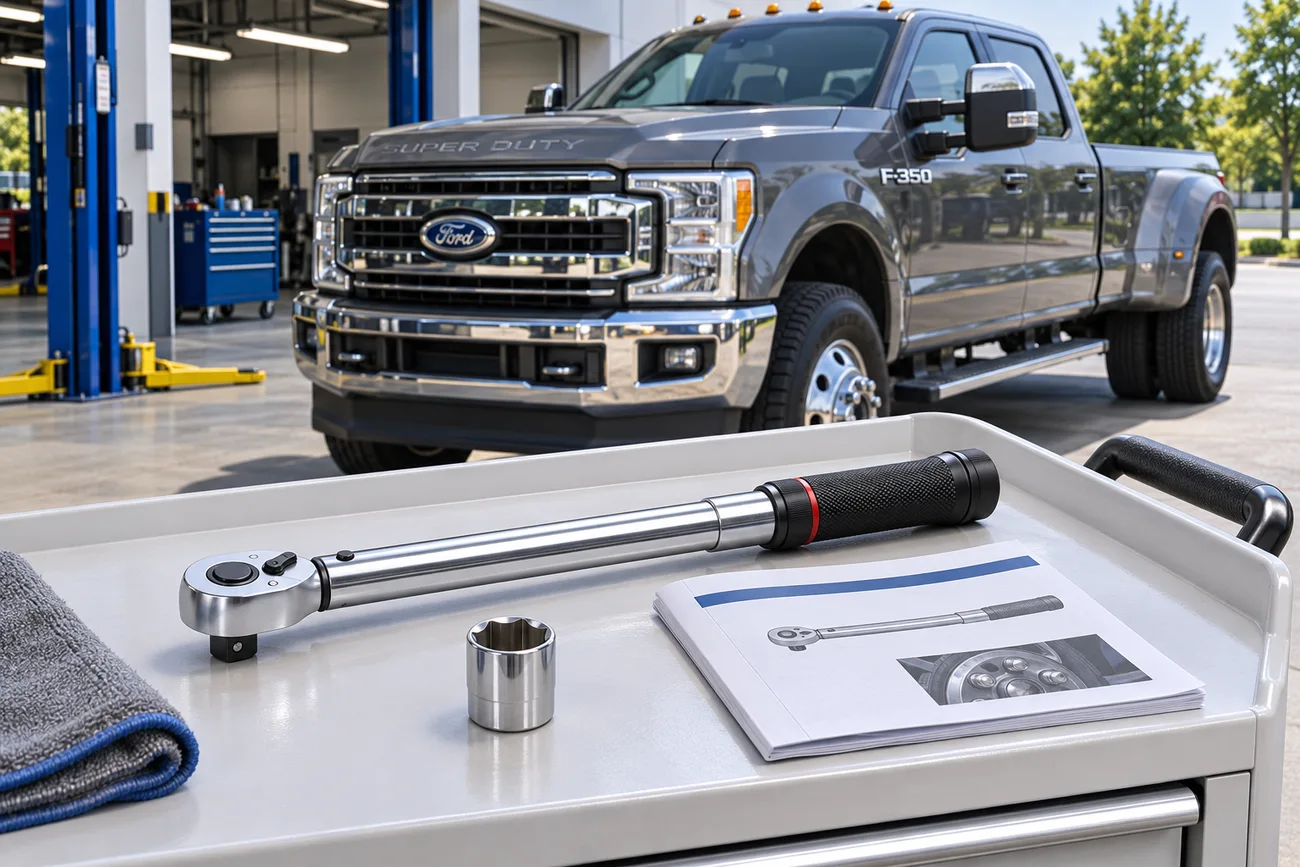
If your tool has two scales, set it using the scale you can read clearly and confirm the unit before you pull on the handle. Keep the wrench instructions handy if you use a tool you borrowed. An adapter can affect how force is applied, so follow the tool maker’s instructions for any extension or adapter that changes the effective handle length. A shop can make the final torque check when you cannot confidently set or operate the tool.
An impact wrench can make removal easier. Its setting cannot establish the precision of a final torque reading. If a nut has been run down hard with an impact wrench, a click during a check does not tell you how far past the specified setting the nut may have been tightened. For suspected overtightening, have the installer inspect the studs and complete the tightening procedure for the vehicle.
After a roadside tire change, follow the safety and recheck instructions in the manual and arrange a proper inspection if you lacked the tools or could not verify the hardware. If the vehicle develops a new vibration, scraping noise, or visible wheel movement after a change, stop in a safe place and arrange assistance. A scheduled mileage recheck is for correctly fitted wheels. It is not a reason to keep driving with symptoms of a mounting problem.
Write down the source before you close the manual. A simple service note can record the odometer, service date, wheel positions removed, model year, manual edition, final value and unit, and planned recheck mileage. If several people drive the truck, share the note so the next driver knows when the recheck is due. This is particularly useful when the truck goes back to towing duty immediately after a rotation.
Also note whether you verified the wheel hardware against the stock configuration. If an installer supplied different fasteners, save the identifying information and the applicable instructions with the tire invoice. A future owner or technician can then trace the specification to the exact combination on the vehicle. That record is more useful than a number written on the glove-box lid without the year, the source, or the units.
Frequently asked questions about F-350 wheel torque
Is 150 lb-ft correct for every F-350?
No. It appears in the 2008, 2020, 2025 and 2026 sources checked here. Ford lists 165 lb-ft in the 2012, 2016 and 2019 examples. The 2004 guide publishes a 150–165 lb-ft range. If your year is outside the chart, search its own Ford manual for “wheel nuts” or “wheel lug nut torque specifications.” Confirm the configuration and source before applying either figure.
Does a dually use higher lug nut torque?


The cited F-350 factory wheel tables give one value or range for the listed bolt size and provide different recheck schedules for single and dual rear wheels. For example, the 2026 reference lists 150 lb-ft and specifies two dually rechecks. A change in rear wheel count alone does not authorize a higher setting. Check the manual and the wheel maker’s instructions on a modified truck.
Which Ford manual should I use if two figures appear online?
Start with the owner’s manual originally supplied with your truck. Look at the model year, market, edition and header above the table. An online result can point to a neighboring model year or a different vehicle. If there is an actual conflict for your truck or a replacement wheel assembly complicates the match, have Ford or the installer identify the correct instructions using the VIN and hardware details.
Can I use the same figure for a spare wheel?


Follow the road-wheel replacement procedure for the spare and hardware provided with your vehicle. Check for limits printed on the spare and identify any different wheel or nut requirements before using it. An aftermarket spare or a wheel from a different truck requires its own compatibility check. After any wheel change, follow the applicable recheck schedule in the manual.
Ford sources and how this chart was compiled
The chart compares selected publications from Ford, including the 2004 Super Duty Owner’s Guide, 2019 Super Duty Owner’s Manual, 2020 Super Duty Owner’s Manual, and 2026 Super Duty Wheel Nuts reference. The remaining manual editions are identified in the chart. These figures are Ford’s published specifications. This guide does not rely on shop torque measurements.
Compare procedures across models only when you are looking for context. FordMasterX’s Explorer wheel torque guide shows how different Ford vehicles can have different specifications and manual editions. Use your F-350 documentation for the truck in front of you.


