
Ford Engine Swap Compatibility Chart: Fitment Specs, Modular Motors, and Legacy Windsor Variants Mapped Out

A Ford engine swap compatibility chart provides the specific dimensions, bellhousing bolt patterns, and physical clearance requirements needed to transplant a Ford engine into a different chassis. This guide provides the foundational data for matching engine families—including Windsor, Modular, and Coyote platforms—to target transmission housings, motor mount locations, and accessory drive offsets, ensuring you select the correct block for your project’s physical and electronic constraints.
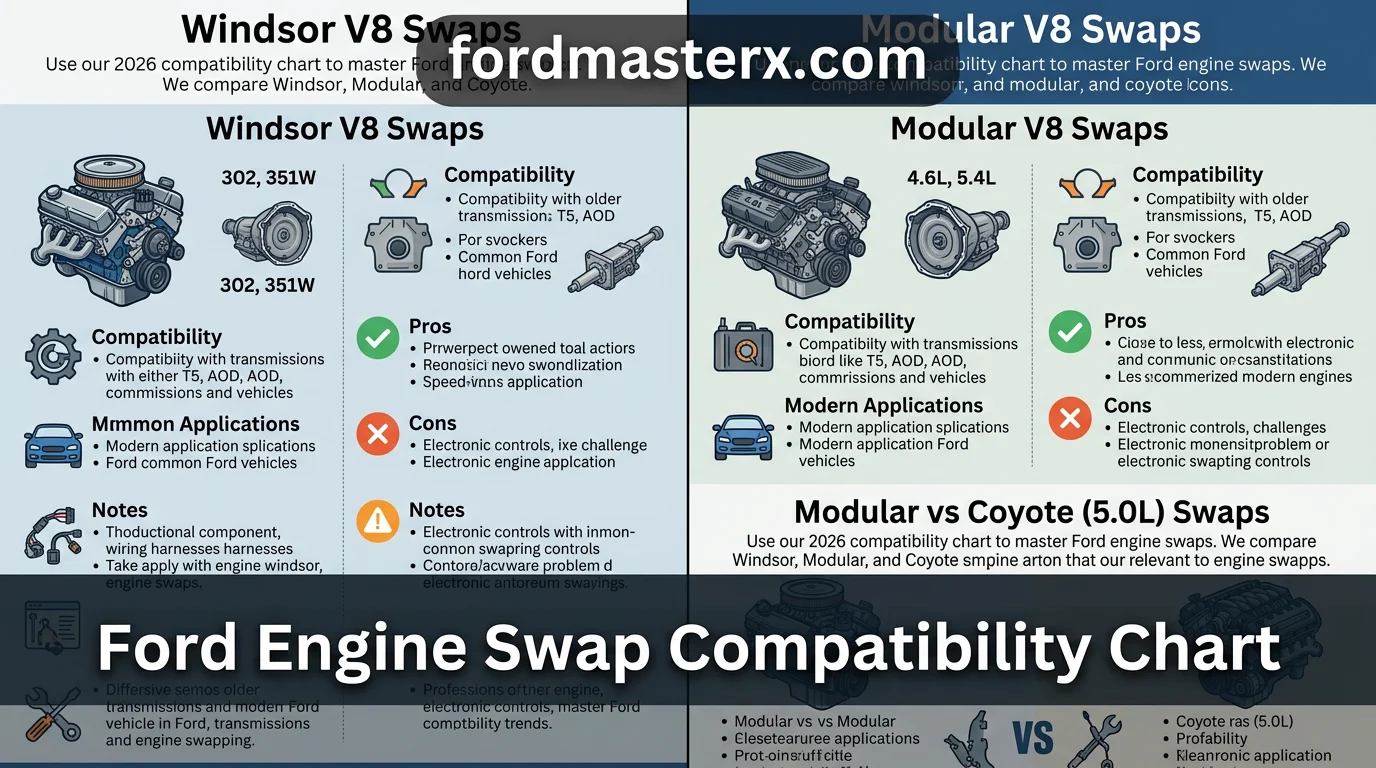
Ford Engine Swap Compatibility Chart: Primary Reference Data
How to Read This Chart
The Engine Family column identifies common groupings based on block architecture. The Bellhousing Pattern column specifies whether the engine uses the legacy Small Block Ford (SBF) interface or the modern Modular pattern; these are not interchangeable without adapter plates.


The Width column provides an estimate of the external dimension from valve cover to valve cover, crucial for verifying fender-well or steering column clearance. Weight ranges reflect typical configurations, noting that iron blocks are significantly heavier than alloy counterparts like the Coyote.

Note that weight figures represent estimated dry totals and can fluctuate based on accessory drives, headers, and specific oil pan configurations. Before finalizing a swap, verify your specific engine’s sump location—front or rear—to ensure compatibility with your chassis’ crossmember and oil pickup requirements.
Navigating Ford Engine Swap Variables and Fitment Specifications


The complexity of a Ford engine swap hinges on the physical profile of the engine block and the existing constraints of the chassis. A drop-in swap is generally restricted to engines sharing similar architecture, whereas cross-platform swaps require significant structural fabrication and component replacement.
The transition from mechanical fuel systems to modern electronic fuel injection (EFI) adds another layer of complexity. These two systems require fundamentally different pressures, flow rates, and tank configurations, making fuel system retrofitting a primary obstacle in any engine transplant project.
Pushrod vs. OHC Physical Dimension Constraints


Vintage Ford Windsor and small-block engines are considered “narrow-block” platforms. Their compact pushrod design allows them to fit within relatively tight engine bays without interfering with shock towers or factory suspension geometry. They typically allow for the retention of factory steering linkages.
In contrast, Ford’s Overhead Cam (OHC) Modular and Coyote engines are “wide-block” platforms. Their double-overhead-cam design results in significantly wider cylinder heads. This width often causes major clearance issues with factory shock towers, particularly in vehicles produced before the 1990s.
Installing a 5.0L Coyote engine into a Fox Body chassis is rarely a simple installation. The sheer width of the Coyote heads usually necessitates an aftermarket tubular K-member to provide both the physical clearance and the necessary motor mount geometry to accommodate the engine’s modern footprint.
Transmission tunnel clearance is also a frequent failure point during swaps. Modern automatic transmissions, such as the 6R80 or 10R80, feature bulky bellhousings and valve bodies that often exceed the dimensions of vintage C4 or AOD tunnels. Expect to perform tunnel fabrication or sheet metal modification to ensure the transmission fits without binding.


Fuel Delivery and Pressure Regulation Basics
Vintage Ford engines typically utilized a mechanical fuel pump driven by the engine’s camshaft, operating at low pressure (5-7 PSI). This system relies on a vented fuel tank and simple, non-return fuel lines that are inadequate for the demands of modern high-performance EFI engines.


Modern EFI systems require high-pressure fuel delivery, typically ranging from 40 to 60 PSI. This necessitates the installation of an in-tank or high-flow external electric fuel pump. Unlike mechanical pumps, electric pumps generate significant heat and require constant fuel flow to remain cool and prevent vapor lock.
Most EFI swaps require a return-style or pulse-width-modulated (PWM) fuel system to maintain consistent pressure under varying engine loads. You must also replace soft fuel lines with high-pressure rated hoses and AN-style fittings to handle the increased load and prevent fuel leaks, which pose a severe fire hazard.
Furthermore, the fuel tank must be upgraded or modified to include a proper baffle system. Without a baffle, cornering or acceleration can cause the fuel to slosh away from the pickup tube, resulting in “fuel starvation” and potential engine damage under hard driving conditions common in swapped vehicles.


Modular Motor and Coyote Swap Essentials for Classic Chassis


Swapping a modern Dual Overhead Cam (DOHC) engine into a classic engine bay presents immediate spatial challenges. The sheer physical width of DOHC cylinder heads, compared to traditional pushrod V8s, frequently leads to interference with factory shock towers. In many narrow chassis, such as early Mustangs or Falcons, these heads sit dangerously close to the inner fenders.
Fabrication of notched shock towers or the use of specialized aftermarket subframes is often mandatory to clear the cam covers. Furthermore, the oil pan configuration of modular engines often conflicts with the stock steering linkage or front crossmember. You must verify oil pan clearance by trial-fitting the engine with a mock-up block to determine if a rear-sump or low-profile pan is necessary.
Hood clearance is a common frustration due to the height of the intake manifold and the tall timing cover assembly. While some aftermarket low-profile intakes exist, you may need to utilize drop-motor mounts to lower the drivetrain in the chassis. Always check your vertical clearance before finalizing the mounting position to avoid damaging the hood or creating an aggressive driveline angle.
| Component | Common Constraint | Solution |
|---|---|---|
| Cylinder Heads | Shock Tower Width | Notching or Narrow Subframe |
| Oil Filter | Crossmember Interference | Remote Filter Relocation Kit |
| Intake Manifold | Hood Proximity | Drop-Engine Mounts |
How to Read This Chart


The table above categorizes the primary physical interference points encountered during a Coyote swap. The Component column identifies the engine part, while Common Constraint explains why it hits factory chassis rails or structural components. The Solution column provides standard industry methods for resolving these specific fitment conflicts in vintage chassis.
Managing Cooling System Capacity and BTU Output
Modern DOHC engines operate with much higher thermal efficiency but also generate substantial heat loads compared to carbureted predecessors. The cooling system capacity must be upgraded to match the increased BTU output of the donor engine. If you retain a stock-style radiator, it will likely be insufficient to maintain steady operating temperatures under heavy load.
For Coyote swaps, a multi-core aluminum radiator with high-flow electric fans is essential to manage the heat rejection requirements. Ensure the radiator core surface area is maximized within the available support opening. Using a shroud-enclosed fan setup significantly improves airflow through the core at idle, preventing heat soak when the vehicle is stationary.
Correcting Driveline Angle and Alignment Issues


Once the engine is positioned, driveline alignment becomes the most critical factor for mechanical longevity. The engine and transmission must be tilted to ensure the output shaft and pinion flange operate within acceptable working angles. Improper alignment causes harmonic vibrations and premature wear on U-joints and transmission tailshaft bushings.
Aim for a total operating angle of less than 3 degrees for the driveshaft. Use digital angle finders to measure the engine crankshaft centerline versus the differential pinion angle. You may need to utilize transmission shims or adjustable engine mounts to achieve a parallel relationship, which is vital for reducing vibration and ensuring a smooth power transfer to the rear wheels.
Legacy Windsor and Pushrod Compatibility Guide
The Ford Small Block architecture is often viewed as a “one size fits all” platform, but physical dimensions vary significantly. The most critical distinction lies in the deck height. A standard 302 engine features a 8.206-inch deck height, while the 351 Windsor (351W) utilizes a 9.503-inch deck height.
This taller deck width adds approximately one inch of extra engine width and increases overall height. When swapping, this necessitates specific intake manifolds and headers designed for the 351W footprint. Failure to account for these dimensions will result in significant hood clearance issues and chassis interference.
Engine mount location is rarely “bolt-in” unless you utilize a manufacturer-specific swap kit. A common solution for enthusiasts involves using 351W swap plates. These adapters allow you to retain the original 302-style frame mounts while correctly positioning the taller 351W engine within the engine bay.
Transmission Bellhousing Pattern Identification
Assuming all Ford engines share the same transmission bolt pattern is a major pitfall. While many Windsor engines use the common “Ford Small Block” pattern, there are notable exceptions. For example, some early 351W blocks and specialized fleet engines may utilize alternative bolt configurations.
The standard Ford small block pattern supports transmissions like the C4, C6, AOD, and T5 manual gearboxes. However, internal dimensions for the input shaft and torque converter engagement can vary between these units. Always verify the block casting date and transmission case suffix to ensure the pilot bearing and torque converter snout align properly.
When mating a modern AOD or T5 to a vintage block, ensure the bellhousing index is checked. An offset or misaligned bellhousing will lead to premature bearing failure or damaged input shafts. If you are mixing transmission families, utilize a dial indicator to confirm the bellhousing is centered within 0.005 inches.
Exhaust Manifold and Header Routing Techniques
Exhaust selection is strictly dictated by the chassis width and the specific deck height of the Windsor engine. Headers designed for a 302-powered Mustang will rarely clear the frame rails when fitted to a 351W due to the increased block width and revised cylinder head port height.
Consider the routing of steering linkages and starter motor clearance when selecting headers. Shorty headers generally offer the most chassis clearance, making them ideal for tight swaps. However, long-tube headers provide superior flow for high-performance builds but often require significant modification to chassis cross-members.
For custom installations, focus on the primary tube diameter relative to your expected power output. A 1.5-inch to 1.625-inch diameter is sufficient for most street 302 builds. For 351W conversions, step up to a 1.75-inch primary to prevent exhaust backpressure caused by the increased displacement and potential heat buildup in the engine bay.
Managing Electronics, ECU Integration, and Harness Wiring
Modern Ford engine swaps, particularly Coyote and modular conversions, hinge on the compatibility of the Electronic Control Unit (ECU). The most significant hurdle is the factory immobilizer system. When using a donor ECU, the computer expects to see a specific handshake from the original vehicle’s Body Control Module (BCM) and key transponder. Without this signal, the ECU will trigger a “no-start” condition, requiring professional unlocking or specialized software flashing to bypass these security protocols.
Choosing the right management strategy defines the scope of your wiring project. You must decide if you want to maintain the factory sensor suite or transition to an aftermarket system that simplifies the under-hood architecture. This choice dictates not only your engine’s performance characteristics but also how much time you will spend troubleshooting electrical gremlins during the final stages of the build.
Standalone vs. Factory ECU Tuning Constraints
Factory ECUs provide excellent drivability and emissions compliance but are notoriously difficult to integrate into vintage chassis. These units are calibrated for specific intake configurations and transmission types. If you choose to use a factory ECU, you must ensure the harness remains intact and that the system is flashed to disable the Passive Anti-Theft System (PATS). This typically requires sending the unit to a specialized tuner who can remove these constraints while retaining the factory fuel maps.
For those seeking simplicity and high-performance flexibility, the Ford Performance Control Pack is a popular choice. It serves as a “plug-and-play” solution, providing a pre-programmed ECU and a simplified, standalone harness designed specifically for swap applications. It eliminates the need for complex BCM integration, allowing the engine to run without the rest of the donor car’s electronics.
Conversely, aftermarket systems like the Holley Terminator X offer superior adjustability for modified engines. They use a proprietary harness that strips away all unnecessary connections, leaving only what is required to run the engine. The downside is the loss of refined factory features, such as advanced idle control or specialized transmission interface protocols, which may require additional modules to manage if you are running a modern automatic transmission.
Overcoming CAN Bus Integration Roadblocks
Modern engines communicate through a Controller Area Network (CAN) bus, a digital data stream that allows components to “talk” to one another. When you remove an engine from its donor chassis, you lose the digital signals that typically drive factory dashboard gauges. Unless you are swapping the entire modern instrument cluster into your project, your analog gauges will not receive the data required to function.
To overcome this, builders often use CAN-to-analog converter boxes. These devices tap into the engine’s OBD-II port or directly into the CAN bus wiring, translating digital data into signals that traditional gauges can interpret. Without this, you would need to install dedicated, redundant sensors into the engine block for oil pressure, coolant temperature, and RPM, effectively doubling the wiring complexity in the engine bay.
Simplified harness routing is the final key to a reliable swap. When building your own harness, keep power distribution blocks as close to the battery as possible to reduce voltage drop. Use shielded wiring for sensitive inputs like the Crankshaft Position Sensor to prevent electromagnetic interference. Properly labeling each connector during the layout phase ensures that future diagnostics remain manageable, preventing the “spaghetti bowl” of wires that often plagues amateur engine conversions.
Professional Strategies for Successful Ford Engine Conversions
Executing a high-quality engine swap requires shifting focus from theoretical compatibility to physical reality. The most successful projects prioritize a rigorous pre-installation phase. By treating the initial assembly as a “mock-up” ritual, you identify interference points before they become permanent project-stalling obstacles.
Pre-Swap Mock-up and Measurement Rituals
The “measure twice, cut once” rule is critical when determining engine offset. Mount the block and transmission using temporary hardware to verify your driveline angles. Always prioritize over-estimating clearances; what appears to have half an inch of room during static assembly often contacts the chassis under the torque load of a hard launch.
Pay close attention to vertical and lateral constraints. Failing to account for hood clearance when installing a taller intake manifold is a common oversight that ruins body panels. Similarly, ignoring the transmission tunnel width for larger modern automatic transmissions—like the 6R80 or 10R80—often leads to last-minute, imprecise metal fabrication that compromises structural integrity.
Maintain a master build ledger to document every part number, bracket, and custom fitting used throughout the process. This documentation is not just for your records; it is essential for future serviceability. If a sensor fails or a hose leaks years down the line, knowing exactly which off-the-shelf component you utilized prevents days of diagnostic guesswork.
Identifying and Mitigating Critical Swap Failures
Safety must remain the primary metric for project completion. High-pressure fuel systems require specialized AN-rated lines and secure clamping to prevent leaks, which are significant fire hazards in engine bays. Never reuse factory fuel lines that were never designed to handle the increased PSI requirements of modern fuel-injected Ford engines.
Swapping to a modern ECU frequently overloads legacy electrical architectures. Ensure your charging system can handle the increased amperage demands of modern ignition and high-output cooling fans. Always install a dedicated secondary relay board for the engine management system rather than tapping into original, thin-gauge chassis wiring, which creates high resistance and potential fire risks.
Finally, perform a “shake-down” assessment during the final mock-up. Check for pinch points in your wiring harnesses where the engine meets the firewall or frame rails. A single rubbed-through wire can ground your entire ECU, resulting in a non-starting condition that is notoriously difficult to isolate once the drivetrain is fully bolted in place.
Key Takeaways
-
✓
Evaluate engine dimensions against chassis engine bay width and firewall clearance. -
✓
Verify transmission bellhousing patterns to ensure bolt-pattern compatibility. -
✓
Compare the pros and cons of standalone ECU management versus OEM harness integration. -
✓
Identify specific motor mount adapter kits for modular engine swaps into vintage frames. -
✓
Prioritize oil pan and accessory drive clearance to avoid common steering rack interference.
❓ Frequently Asked Questions
1
What is a Ford engine swap compatibility chart?
It is a technical reference document that maps engine block families, such as the Windsor or Modular series, to specific transmission bellhousings and chassis types. It highlights the features and limitations of mixing vintage blocks with modern transmissions, ensuring your drivetrain components align correctly before physical installation begins.
2
How does engine swap compatibility work?
Compatibility relies on three main variables: physical mounting, transmission bolt patterns, and electronic signaling. You must align the engine’s output shaft with the transmission, ensure the motor mounts match the chassis crossmember, and resolve how the ECU communicates with the fuel, ignition, and vehicle speed systems.
3
Why is engine swap planning important?
Effective planning prevents the hidden disadvantages of engine swapping, such as oil pan-to-steering clearance issues or unexpected wiring nightmares. By utilizing a verified compatibility chart, you manage costs effectively and ensure the project remains functional rather than becoming an endless cycle of fabrication and part returns.
4
What are the benefits of swapping to a Coyote engine?
The primary advantages of a Coyote swap include superior horsepower density, improved fuel efficiency, and modern reliability compared to legacy pushrod engines. While the physical size and electronic integration represent significant challenges, the performance payoff makes it a preferred choice for high-end restomod projects.
5
How can I get started with a Ford engine swap?
Start by identifying your donor engine and target chassis. Cross-reference these in the compatibility chart to find necessary adapter kits for motor mounts and headers. Once the physical feasibility is confirmed, research your wiring harness requirements to determine if you need a plug-and-play solution or a custom tune.
6
Will a 5.0L Coyote engine fit in a Fox Body Mustang?
Yes, but not as a drop-in. It requires a tubular K-member, specific Coyote-to-Fox engine swap headers, and significant modification to the fuel system and ECU integration.