
Ford Escape Check Engine Light Reset: Procedures Compared Side-by-Side (2001-2026)

To reset the check engine light on a Ford Escape, you must either use an OBD-II diagnostic scanner to clear the stored Diagnostic Trouble Codes (DTCs) or perform a battery disconnect cycle to reset the powertrain control module. This article details the hardware requirements for various Ford Escape generations, the specific port locations for your vehicle, proper drive cycle requirements for emissions compliance, and critical safety warnings for when service is mandatory.
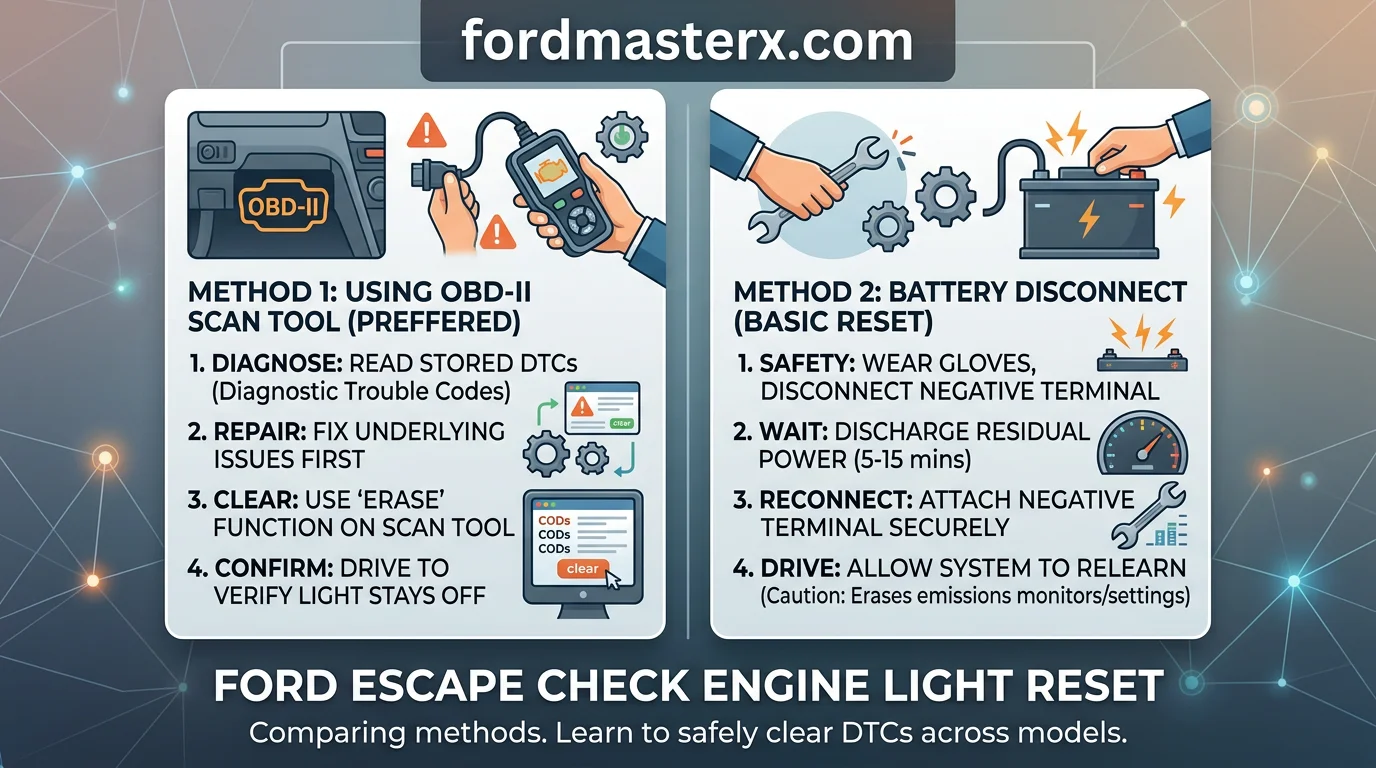
Ford Escape Check Engine Light Reset: Primary Methods Compared
How to Read This Chart
This comparison table outlines the two primary approaches for clearing a check engine light on a Ford Escape. The Method column defines the technique, while Data Retention highlights whether the process selectively clears specific diagnostic trouble codes (DTCs) or wipes all adaptive memory settings from the Powertrain Control Module (PCM).


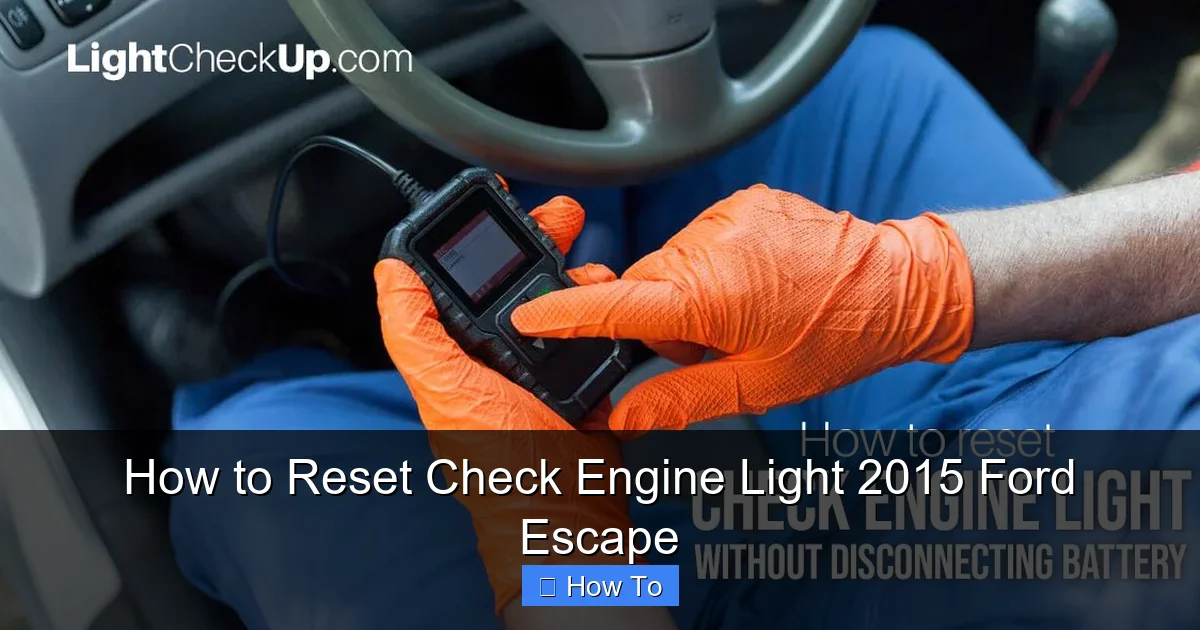
Best Use Case identifies when each method is appropriate. The Risk Level column assesses potential side effects; for example, battery disconnection may lead to loss of radio presets, idle relearning requirements, or the accidental clearing of critical emission monitor data. These methods apply across all Ford Escape generations, though modern computerized systems are more sensitive to voltage disruptions than older models.
Using an OBD-II scanner is considered the industry-standard and safest method for resetting a check engine light. It allows you to read the specific fault code before clearing it, ensuring you understand why the light illuminated in the first place.
When you use a scanner to clear the light, the device only removes the stored error codes. However, it is important to note that this action simultaneously resets the vehicle’s internal emissions monitors. This puts the computer into a “not ready” status, which may cause your vehicle to fail a state emissions inspection until it completes a specific drive cycle.
Disconnecting the vehicle battery is a traditional, albeit less precise, method for clearing the engine light. By removing the negative terminal for several minutes, the PCM loses power and resets its volatile memory. This effectively turns off the warning light by clearing the cached error data.
This “hard reset” approach carries more risk than using a scan tool. It can cause the vehicle to lose adaptive idle settings, forcing the engine to run roughly while it relearns fuel trims. Additionally, like the scanner method, it will reset all readiness monitors, making an immediate trip to an inspection station unsuccessful.
Standard Ford Escape OBD-II Diagnostic Port Locations


| Escape Generation | Primary Location | Specific Landmark |
|---|---|---|
| 2001–2007 (Gen 1) | Driver-side dash | Above gas pedal/hood release |
| 2008–2012 (Gen 2) | Lower dash panel | Near hood release lever |
| 2013–Present (Gen 3+) | Lower driver kick panel | Left of steering column |
How to Read This Chart


This table identifies the universal placement of the Data Link Connector (DLC) across all Ford Escape model years. The “Specific Landmark” column highlights the most reliable tactile or visual reference point for finding the port while seated in the driver’s position.
Note that while the exact housing orientation may shift slightly between model refreshes, the port consistently remains within 6–10 inches of the primary hood release handle. These positions apply to all gasoline and hybrid drivetrain configurations for the listed production years.


Identifying OBD-II Pin Integrity
Before plugging in any diagnostic equipment, perform a visual inspection of the port. The OBD-II interface consists of 16 distinct metal pins arranged in two rows of eight. Use a flashlight to check for bent, pushed-back, or missing pins inside the connector housing.


Signs of corrosion or debris, such as white oxidation or trapped road grime, can interrupt data transmission. If you observe green or brown discoloration, do not force a scanner into the port. Cleaning the contacts with a non-conductive electrical contact cleaner is necessary to ensure a stable connection.
Preventing Port Damage During Scanner Use


Always align the scan tool connector carefully with the port’s shape. The OBD-II connector is asymmetrical, meaning it will only fit in one orientation. Forcing the scanner into the port backwards can bend the delicate internal pins, leading to permanent connection failures.
Once aligned, press the scanner plug firmly but gently until you feel a secure click. Avoid wiggling the device once connected, as this creates excess leverage that can stress the plastic housing of the dashboard mount. When finishing your scan, pull the connector straight out to avoid shearing the pins.


The OBD-II port is wired directly to the vehicle’s Powertrain Control Module (PCM). A blown fuse in the cigarette lighter or auxiliary power circuit can sometimes disable power to the diagnostic port, preventing your scanner from turning on.
Generational Differences in Ford Escape DTC Reset Procedures


| Model Years | Primary Interface | Protocol Complexity |
|---|---|---|
| 2001–2007 (1st Gen) | Basic OBD-II Scan | Low / Generic Codes |
| 2008–2012 (2nd Gen) | OBD-II / CAN Bus | Moderate / Enhanced |
| 2013–Present (3rd/4th Gen) | High-Speed CAN / PCM | High / Proprietary |
How to Read This Chart
The table displays the evolution of diagnostic communication across Ford Escape generations. The Model Years column categorizes the vehicle architecture, while the Primary Interface column identifies the dominant method for connecting to the engine computer.
Protocol Complexity refers to the data architecture utilized by the vehicle’s On-Board Diagnostics system. Low complexity denotes systems relying mostly on universal federal emission codes, whereas High complexity signifies deep integration with Ford-specific modules that require specialized diagnostic software to clear permanent fault flags.
Addressing Proprietary Ford Error Codes


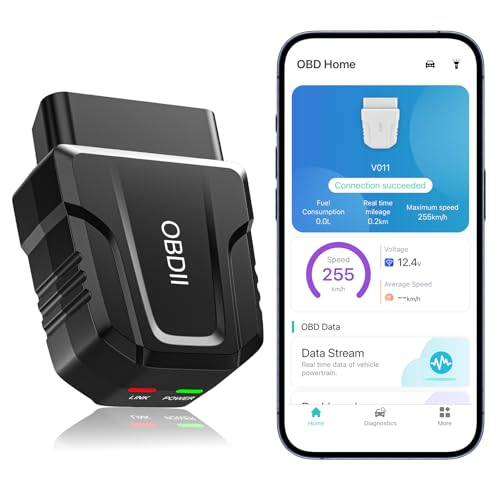
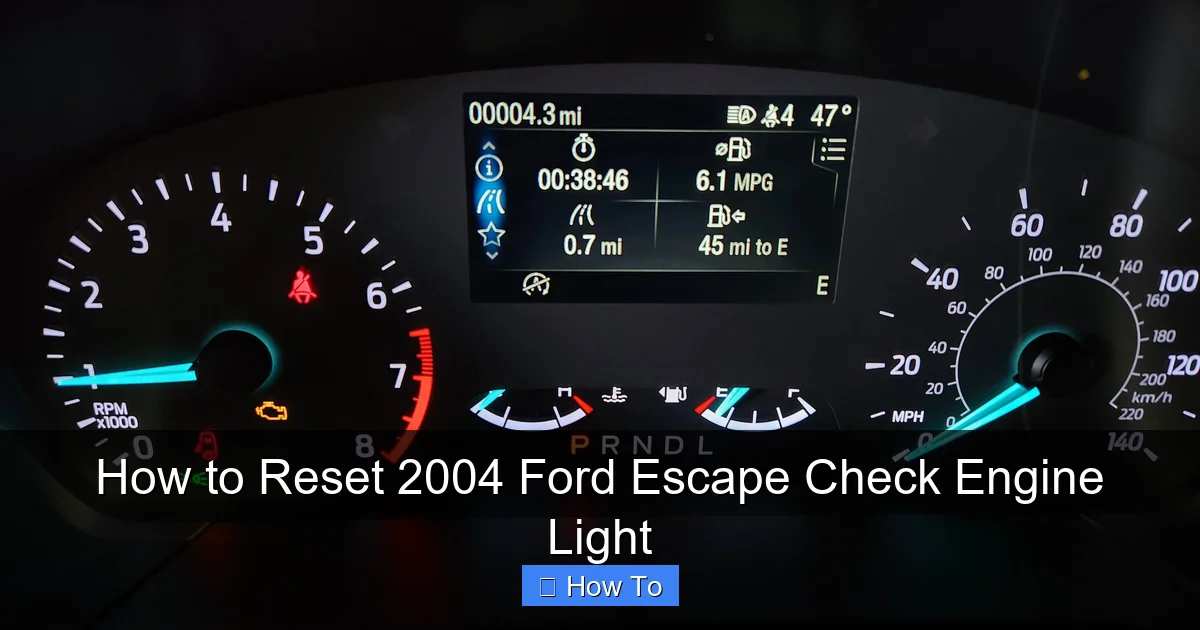
Many owners mistakenly assume that any universal OBD-II scanner can clear every warning light. While inexpensive readers excel at interpreting standard P0xxx codes required by law, they often lack the capability to read or clear Ford-specific manufacturer codes.
These proprietary codes originate from systems outside the standard emissions loop, such as the Body Control Module or Transmission Control Module. Attempting to force a reset via a generic device on a modern vehicle may result in the code returning instantly or failing to clear entirely.
If your scan tool reports that a code is “Permanent,” it cannot be cleared manually until the vehicle completes a specific drive cycle. Manufacturer-specific software often identifies these “soft” faults that standard, low-cost scanners ignore or misinterpret during the reset process.
Reset Nuances for Hybrid vs. Gas Models
Resetting a check engine light on a hybrid Ford Escape involves significantly more risk than on a standard internal combustion model. These systems rely on a complex High Voltage (HV) Battery Control Module that reports directly to the PCM.
In 2001–2012 gas models, a simple disconnect of the battery terminals or a basic scanner command often purged the memory successfully. However, doing this on a hybrid model can inadvertently reset the Battery State of Charge (SOC) calibration.
Newer 2013-present models use an integrated network architecture where the PCM, Transmission Control Module, and Hybrid Battery system communicate in real-time. Clearing a code here is not just about turning off a bulb; it is about resetting the adaptive learning parameters of the hybrid drivetrain.
For hybrid variants, always use a scanner capable of bidirectional communication. This ensures the reset command is sent specifically to the correct subsystem without compromising the learned memory of the electric motor-generator assembly or high-voltage safety interlocks.
Safe Procedures for Using an OBD-II Scanner
| Step | Action Required | System State |
|---|---|---|
| 1 | Connect Scanner to Data Link Connector (DLC) | Ignition OFF |
| 2 | Initiate Communication with Ford ECU | Ignition ON (Engine OFF) |
| 3 | Retrieve and Record Freeze Frame Data | Engine OFF |
| 4 | Execute “Clear Codes” Command | Ignition ON (Engine OFF) |
How to Read This Chart
This table outlines the essential sequence for safely interacting with your Ford Escape’s electronic control unit (ECU). The “Step” column provides the chronological order of operations, while “Action Required” defines the specific task for the user.
The “System State” column is critical; never attempt to clear codes while the engine is running or while the vehicle is in motion, as this can cause communication errors with the scanner. These steps apply to all Ford Escape generations (2001–present) equipped with a standard 16-pin OBD-II port.
Interpreting Freeze Frame Data for Accurate Repair
Before initiating a reset, always capture the “Freeze Frame” data. This is a snapshot of the vehicle’s sensor readings at the exact moment the fault was triggered. It includes engine load, RPM, coolant temperature, and fuel trim values.
Documentation is vital because clearing a code removes this diagnostic history from the ECU. Without these baseline numbers, you lose the ability to recreate the conditions under which the failure occurred, making it nearly impossible to confirm if a subsequent repair was successful.
Remember that clearing a fault code is not a repair. It simply deletes the warning indicator from your dashboard. If the underlying mechanical or electrical issue—such as a faulty oxygen sensor or vacuum leak—remains unresolved, the check engine light will inevitably return as soon as the drive cycle completes.
Post-Scan Clearing Protocols
Once you have logged the data, you may proceed to clear the code. Ensure the ignition is in the “On” position without starting the engine to provide power to the PCM. Select the “Clear” or “Erase” function on your scanner menu.
After erasing the codes, disconnect the scanner and perform a key cycle by turning the ignition off for 30 seconds. Restart the engine to confirm the warning light has extinguished. If the light remains illuminated or flashes, do not drive the vehicle, as this indicates a persistent, severe fault.
Note that clearing the memory also resets the vehicle’s emission readiness monitors. Your Ford Escape will need to be driven through several specific drive cycles before it will pass a state-mandated emissions test. Keep your documented Freeze Frame data handy, as it is the most reliable guide for troubleshooting if the light reappears.
Understanding Drive Cycles and Emissions Readiness
| Monitor Type | Primary Requirement | Est. Mileage to Complete |
|---|---|---|
| Oxygen Sensor | Steady-state highway cruising | 50–75 Miles |
| EGR/EVAP System | Cold soak followed by city driving | 75–100 Miles |
| Catalytic Converter | Consistent throttle, varying load | 50–100 Miles |
How to Read This Chart
The table above outlines the estimated distance required for your Ford Escape’s Powertrain Control Module (PCM) to re-verify critical emissions systems. The “Monitor Type” refers to the onboard diagnostic sub-systems that track engine health.
The “Primary Requirement” specifies the type of driving conditions needed to trigger the sensors, while the “Est. Mileage” column indicates the realistic range for these monitors to flip to a “Ready” state. These figures apply generally to Ford Escape models equipped with OBD-II systems from 1996 through present-day iterations.
Completing the Ford Drive Cycle Safely
When you perform a hard reset, the PCM clears all stored diagnostic trouble codes (DTCs) and resets the I/M (Inspection/Maintenance) readiness monitors. This effectively wipes the “memory” of your vehicle’s emissions performance. The vehicle must then undergo a series of specific driving conditions, known as a drive cycle, to prove it meets environmental standards.
A typical Ford drive cycle requires a mix of city and highway travel. City driving involves stop-and-go traffic that allows the EVAP (Evaporative Emission) monitor to calibrate during idle and light acceleration. Conversely, highway driving at steady speeds—usually between 55 and 65 mph—is necessary for the PCM to evaluate the efficiency of the catalytic converter and oxygen sensors.
You cannot simply idle the vehicle in your driveway to achieve readiness. The PCM requires real-world data points, including changes in engine load, coolant temperature fluctuations, and constant sensor feedback. Attempting to force these conditions by driving aggressively can prevent the monitors from completing their self-test sequence correctly.
I/M Monitor Reset Timeline
A common pitfall for owners is clearing engine codes immediately before arriving at an emissions testing station. Even if the check engine light stays off, the testing computer will flag your vehicle as “Not Ready.” This happens because the internal monitors have not yet logged enough data to confirm that all emissions systems are functioning correctly.
Most emissions testing facilities require that all monitors, excluding perhaps the EVAP sensor, be set to “Ready.” This status is typically achieved after 50 to 100 miles of mixed-use driving. Depending on your specific commute, this process can take anywhere from two days to a full week of operation to complete entirely.
If you find that your monitors refuse to set even after exceeding 100 miles of driving, it often indicates an underlying mechanical fault that the PCM is unable to resolve. In these cases, the check engine light will likely illuminate again, confirming that the issue persists and that the system cannot pass the self-test diagnostic phase.
Critical Warning Signs: When Not to Reset the Light
| Indicator State | Technical Meaning | Recommended Action |
|---|---|---|
| Solid/Steady | Emissions system fault detected | Schedule non-urgent diagnostics |
| Flashing/Blinking | Active, severe engine misfire | Stop vehicle; tow immediately |
How to Read This Chart
The “Indicator State” column identifies how your Ford Escape’s Malfunction Indicator Lamp (MIL) appears on the dashboard. The “Technical Meaning” highlights the severity of the data gathered by the Engine Control Unit (ECU).
The “Recommended Action” indicates whether the vehicle is safe to drive to a mechanic or requires immediate immobilization. This data applies to all Ford Escape generations equipped with OBD-II systems, regardless of engine trim or drivetrain configuration.
The Meaning of a Blinking MIL
A flashing or blinking check engine light is the most urgent alert your Ford Escape can provide. It signifies an active misfire occurring within one or more cylinders. This is significantly different from a solid light, which often relates to minor sensor issues.
When the MIL flashes, raw, unburned fuel is being sent directly into the exhaust system. This fuel interacts with the catalytic converter, causing an extreme heat spike that can physically melt the internal honeycomb structure of the converter.
Continuing to drive while the light is flashing will turn a simple repair, such as a faulty ignition coil or spark plug, into a costly engine and exhaust failure. You must pull over safely and turn off the engine immediately.
Common Faults That Defy Simple Resets
Not all dashboard warnings carry the same weight. Understanding the difference between a transient condition and a critical failure is essential to prevent long-term damage to your vehicle’s complex emission systems.
A loose fuel cap is a common, non-catastrophic cause for a solid check engine light. In this instance, the vehicle’s EVAP system detects a pressure leak. Once the cap is tightened, the system may reset itself after several drive cycles.
If you experience rough idling, significant loss of power, or a burning odor in conjunction with a flashing MIL, do not attempt to reset the system. Contact a professional mechanic for an immediate towing and diagnostic service.
Conversely, severe engine misfires or failed sensors in the fuel delivery system require physical part replacement. Resetting the light in these scenarios serves only to clear the diagnostic code while leaving the mechanical fault active and dangerous to your engine.
Key Takeaways
-
✓
OBD-II scanning provides precise diagnostic data compared to generic battery resets. -
✓
Manual resets via battery disconnection can lead to incomplete drive cycle status for emissions testing. -
✓
DTC clearance is only temporary if the underlying mechanical or electrical fault remains unaddressed. -
✓
Modern Ford Escape models require specific scanner protocols for different powertrain configurations. -
✓
Always confirm emissions readiness monitors have reset after clearing a code to ensure legal compliance.
❓ Frequently Asked Questions
1
What is the Ford Escape check engine light reset?
It is the process of clearing Diagnostic Trouble Codes (DTCs) from the vehicle’s Engine Control Module. This turns off the dashboard warning light, signaling that the computer has wiped stored error data. It is a necessary step after completing repairs to verify the system is functioning correctly.
2
How does the Ford Escape check engine light reset work?
The reset works by communicating with the vehicle’s onboard computer through the OBD-II diagnostic port. A scanner sends a command to purge stored codes. Alternatively, disconnecting the negative battery terminal forces the volatile memory to reset, though this is less precise and causes the vehicle to lose learned driving data.
3
Why is a proper reset important for my Ford Escape?
A proper reset ensures the vehicle’s emission monitors are correctly re-calibrated. If you reset the light improperly, your Ford Escape may fail an emissions inspection because the computer hasn’t finished the ‘readiness’ drive cycle, even if the original mechanical fault has been successfully repaired.
4
What are the advantages of using an OBD-II scanner?
The primary advantages include precision, data retention, and professional feedback. Unlike pulling the battery, a scanner lets you read the specific code description and freeze-frame data, giving you the pros and cons of the repair before you clear the light and potentially lose the evidence.
5
How can I get started with resetting my light?
Start by locating the OBD-II port, typically under the driver-side dashboard. Plug in a compatible scanner, turn the ignition to the ‘On’ position without starting the engine, and follow the scanner’s menu to ‘Read’ codes, document the findings, and select ‘Clear’ or ‘Reset’ to finish the process.
6
Will disconnecting the battery fix the check engine light?
It clears the light by cutting power to the PCM, but also deletes transmission adaptive learning and radio presets; it is not a recommended long-term solution.