
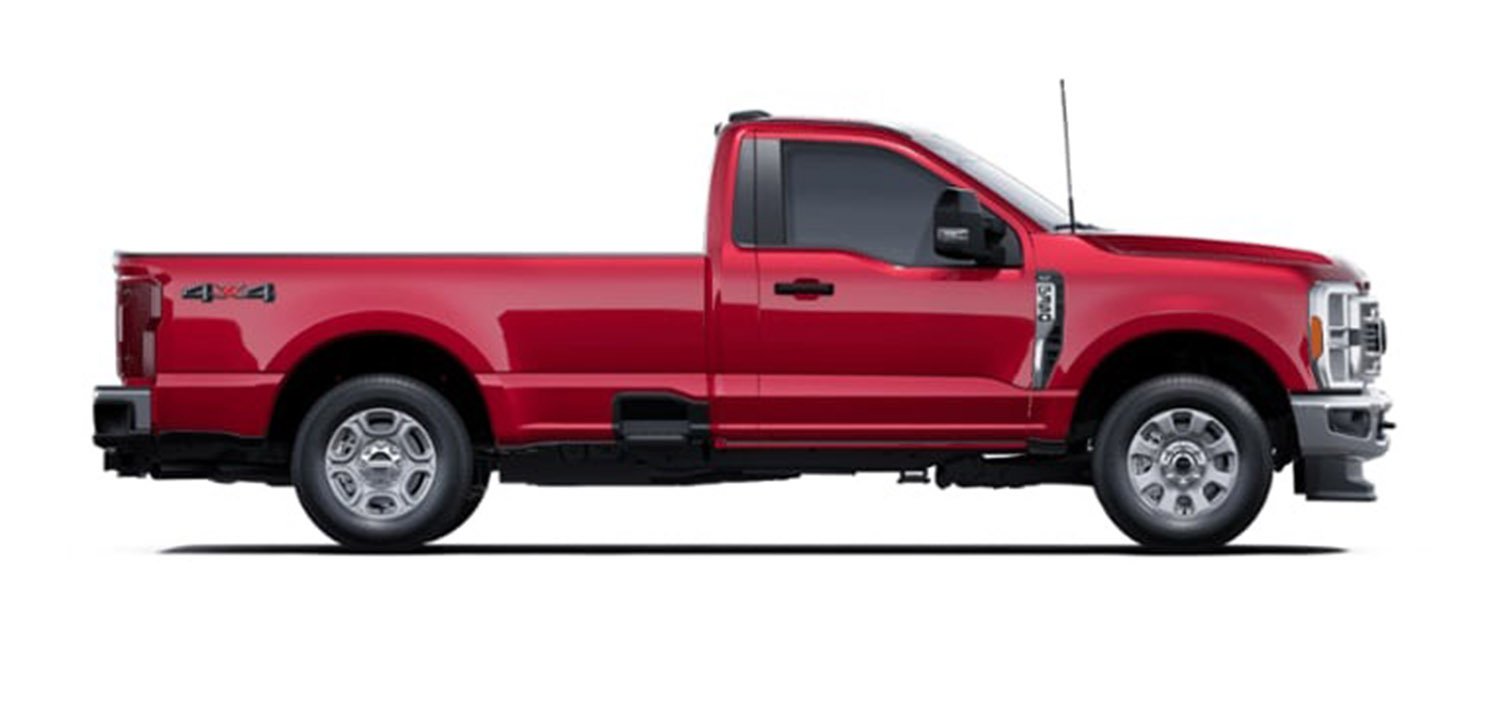
Ruby Red Metallic Tinted Clearcoat Factory Finish Restoration And Maintenance Guide
Ruby Red Metallic Tinted Clearcoat is more than just a paint color; it is a complex optical engineering feat that provides a depth and luster rarely seen in factory finishes. However, due to its multi-stage nature, this finish is prone to losing its “factory fresh” brilliance as oxidation, swirl marks, and environmental contaminants cloud the translucent mid-coat. This technical guide will detail the precise steps required to perform a total surface reset, restoring your vehicle’s finish to its default factory depth and ensuring its long-term preservation through professional-grade methodologies.
Section 1: Understanding the Tri-Coat Composition of Ruby Red Metallic Tinted Clearcoat

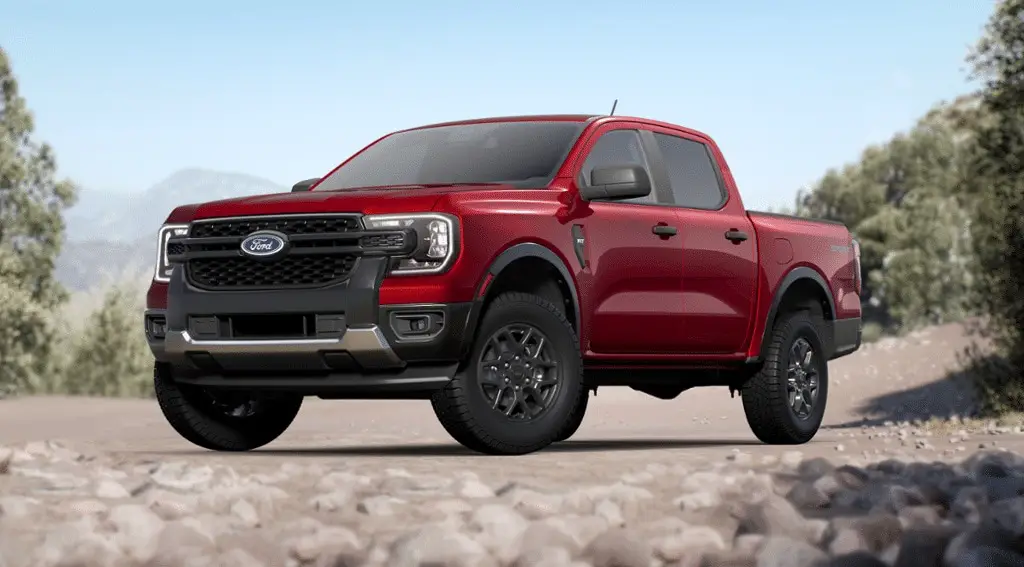
📤 Share Image
To restore Ruby Red Metallic to its factory condition, one must first understand that it is not a standard “base-and-clear” paint system. Formally known by Ford Paint Code RR (M7205A), this is a three-stage or “tri-coat” process. It consists of a solid base color, a translucent tinted mid-coat (the actual “tinted clearcoat”), and a final protective top clear layer. Unlike traditional paints where the color comes from a dense pigment in the base, Ruby Red achieves its signature “candy” depth through light refraction. Light passes through the outer clear, through the red-tinted mid-layer, reflects off the metallic flakes in the base, and travels back to the eye.
The technical complexity lies in the mid-coat. This layer typically measures between 0.5 to 0.8 mils. Because the red dye is suspended within this resin, any aggressive abrasion can lead to “color thinning.” If a technician removes more than 0.3 mils during a reboot of the surface, the panel will undergo a noticeable color shift, appearing lighter or “paling out” compared to adjacent panels. This is the fundamental risk when correcting tri-coat finishes: you are not just leveling clearcoat; you are potentially altering the pigment density.
Distinguishing between surface-level defects and mid-coat damage is essential. A scratch that appears white is likely in the top clearcoat and can be safely polished. However, a scratch that shows a “bright” silver or a duller red suggests penetration into the mid-coat or base layer, requiring a backup plan involving localized touch-up rather than broad mechanical leveling.
Section 2: Chemical Decontamination to Restore Factory Paint Clarity
Before any mechanical reboot can occur, the surface must be clean at a molecular level. Environmental fallout, such as industrial rail dust and brake dust, embeds itself into the clearcoat. On a Ruby Red finish, these microscopic metallic particles act as “shades,” blocking the light from reaching the metallic flakes below. Research indicates that heavy industrial fallout can decrease light reflection by up to 22%, significantly masking the brilliance of the tri-coat system.
The goal of chemical decontamination is to return the paint to its default state without abrasion. Consider a scenario involving a 5-year-old F-150 in Ruby Red. After years of highway driving, the paint may look “muddy.” This isn’t necessarily due to scratches, but rather a “film” of bonded contaminants and old, oxidized waxes that have yellowed over time. To initialize the restoration, a dedicated two-step chemical process is mandatory.
Iron Dissolution
Using pH-neutral iron removers to chemically melt embedded ferrous particles that dull the metallic pop.
Strip Washing
High-pH degreasers remove silicone-based waxes and oils to reveal the true state of the factory finish.
Following the chemical stage, mechanical decontamination using a fine-grade clay bar (or clay mitt) is required to remove the remaining “above-surface” bonded contaminants. This ensures the surface is “squeaky clean.” At this stage, you are looking for a fresh start where the paint feels like smooth glass. Only once the paint is fully decontaminated can you accurately evaluate the level of swirl marks and oxidation present in the clearcoat.
Section 3: Paint Correction Strategies for a Clean Default Surface
Paint correction on Ruby Red is an exercise in restraint. Because we are dealing with a tinted clearcoat, our “abrasive hierarchy” must always favor the least aggressive method. The objective is to initialize the gloss by removing micro-scratches that cause light to scatter, rather than reflect. Standard factory clearcoat thickness on Ruby Red vehicles is approximately 100-120 microns. A safe, professional-grade correction should aim to remove no more than 3-5 microns of material.
Always use a Dual Action (DA) polisher rather than a Rotary buffer for Ruby Red. DA polishers distribute heat more evenly, which is critical because the resin-heavy tinted mid-coats can soften and “smear” if subjected to the concentrated friction heat of a rotary machine.
In a recent case study involving a high-mileage Lincoln Navigator in Ruby Red, a two-stage correction was required. The “cutting” stage utilized a mid-grade foam pad with a diminishing abrasive compound to remove 95% of swirl marks. This was followed by a “finishing” stage using a micro-fine polish. This second step is what truly restores the metallic pop. By refining the surface to a mirror-like finish, we ensure that the metallic flakes in the base layer are oriented correctly in our field of vision, maximizing light return.
Correction Statistics
Avg. Factory Thickness
Safe Material Removal
Defect Removal Goal
Section 4: Protecting the Reset: Maintaining the Factory Look with Modern Sealants
Once the surface has been leveled and the factory depth restored, it is imperative to apply a protective “backup” layer. Ruby Red is particularly sensitive to UV degradation. Over time, the red dye in the mid-coat can undergo “pinking” or fading if left unprotected. Traditional carnauba waxes, while providing a warm glow, often contain natural oils that can slightly yellow and cloud the finish over several months. For a tri-coat metallic, clarity is king.
Modern Ceramic Coatings (SiO2) are the superior choice for maintaining a fresh start. These coatings create a permanent, glass-like covalent bond with the clearcoat. Because they are optically clear, they do not distort the color of the tinted mid-coat. Furthermore, high-quality ceramic coatings can block up to 99% of UV-A and UV-B rays, which are the primary drivers of pigment breakdown in multi-stage reds.
✅ Pros: Ceramic Coating
- Extreme UV protection for red dyes
- Permanent “wet look” gloss
- Self-cleaning hydrophobic properties
- Chemical resistance to bird droppings
❌ Cons: Traditional Wax
- Short lifespan (30-60 days)
- Low melting point in summer heat
- Can yellow/cloud the mid-coat depth
- Zero protection against acid rain
Consider a side-by-side comparison: a Ruby Red panel treated with a 9H Ceramic Coating versus one treated with a standard spray wax. After six months of southern sun exposure, the ceramic-coated panel retains its deep “blood red” hue and high-reflectivity default state, while the waxed panel begins to show a slight loss of color saturation and visible water spotting. A ceramic barrier effectively “freezes” the restoration in time.
Section 5: Standard Operating Procedures for Long-Term Finish Maintenance
The final step in our guide is establishing a Standard Operating Procedure (SOP) to ensure you never have to perform an aggressive reboot again. Research indicates that 90% of all paint defects found on modern tri-coat finishes are caused by improper washing techniques. Automated brush car washes are essentially “sandpaper” to the delicate tinted clearcoat, introducing thousands of micro-scratches in a single cycle.
📋
Restoration Maintenance SOP
Use one bucket for soapy water and another for rinsing your wash mitt. Equip both with grit guards to keep dirt at the bottom, away from the paint.
Never use chamois or bath towels. Use a dedicated 500+ GSM microfiber drying towel to “blot” water away, minimizing friction on the clearcoat.
Apply a ceramic maintenance spray once a month. This acts as a sacrificial layer, reinforcing the primary coating and maintaining the showroom shine.
Avoid all “brush-style” automated car washes. The friction from these machines is the number one cause of haze and swirling on Ruby Red Metallic. Stick to touchless washes or hand-washing only.
For a daily-driven Ruby Red Mustang, following this schedule ensures the finish remains in its factory default state year-round. By combining scientific decontamination, conservative correction, and robust ceramic protection, you preserve the unique optical depth that makes Ruby Red Metallic one of the most iconic automotive finishes on the road today. A successful restore is not a one-time event, but a commitment to precision maintenance.
In summary, Ruby Red Metallic is a complex tri-coat system requiring careful decontamination and a “least-aggressive-first” correction approach. A successful reset involves removing surface defects to allow the metallic mid-coat to reflect light without interference. Long-term maintenance through ceramic protection and proper washing techniques is essential to prevent color fading and surface marring. Begin your restoration project today by performing a thorough chemical decontamination to see the true potential of your Ruby Red finish.
Frequently Asked Questions
Is Ruby Red Metallic Tinted Clearcoat harder to repair than standard paint?
Yes, it is significantly more complex. Because the color is partially derived from the translucent mid-coat (the tinted clear), matching the thickness and pigment density during a repair is difficult. Traditional ‘blend’ techniques require a highly skilled technician to ensure the metallic flake and color depth match the surrounding factory panels.
Can I use a clay bar on Ruby Red Metallic paint?
Absolutely, and it is recommended for a fresh start. Using a fine-grade clay bar with ample lubrication removes bonded contaminants like tree sap and industrial fallout. This process ‘resets’ the smooth texture of the paint, which is a vital prerequisite for any polishing or sealing work you plan to perform.
Why does my Ruby Red paint look dull even after a car wash?
The dullness is likely caused by micro-marring or ‘swirls’ on the surface clearcoat. These tiny scratches scatter light instead of allowing it to pass through to the metallic mid-coat. To restore the factory shine, you must perform a paint correction to level these scratches and ‘clean’ the optical path to the metallic flakes.
What is the best wax for Ruby Red Metallic Tinted Clearcoat?
While carnauba waxes provide a warm glow, synthetic sealants or ceramic coatings are superior for Ruby Red. These products offer higher clarity, allowing the complex metallic flake and tinted mid-coat to be seen without the slight yellow tint that some natural waxes can impart. SiO2-based products provide the best ‘factory reset’ look.
How many layers of clearcoat does Ruby Red have?
Technically, it features a base color coat, a tinted mid-coat (which acts as the primary color-depth layer), and a final protective ‘top’ clearcoat. When detailing or resetting the finish, you are primarily working on that final top clearcoat layer to ensure it remains perfectly transparent and defect-free.


