Motorcraft 2150 Carburetor Vacuum Ports Diagram Guide
The Motorcraft 2150 carburetor vacuum ports diagram identifies key connections like PCV, EGR, and distributor advance. Proper routing ensures correct idle and prevents lean conditions. While older models lack an ECU, maintaining these lines is critical for avoiding a diagnostic code related to performance in retrofitted or late-model emissions systems.
📌 Key Takeaways
- Correct routing is essential for proper idle and throttle response.
- Identify the ported vacuum vs. manifold vacuum sources clearly.
- Leaks at these ports can cause stumbling or stalling during acceleration.
- Use a vacuum gauge to verify port functionality under load.
- Essential for vintage vehicle restoration and emissions compliance.
Finding an accurate diagram motorcraft 2150 carburetor vacuum ports is often the difference between a smooth-idling engine and a frustrating weekend in the garage. For enthusiasts working on classic Ford, Jeep, or AMC vehicles, the Motorcraft 2150 is a legendary piece of hardware, but its web of vacuum lines can be incredibly intimidating. Understanding the routing of these lines is essential for maintaining proper timing, emissions control, and fuel economy. This guide provides a detailed breakdown of every port, explaining their functions and how to correctly route them to ensure your vintage powerplant runs with modern reliability.

Understanding the Motorcraft 2150 Port Configuration
The Motorcraft 2150 is a two-barrel carburetor known for its altitude compensation features and its “feedback” variants used in the early 1980s. When looking at the diagram motorcraft 2150 carburetor vacuum ports, you will notice several distinct nipples protruding from the base and the main body. Unlike modern vehicles managed by a sophisticated ECU (Engine Control Unit), the 2150 relies on physical pressure differentials to communicate with engine components.
The most critical distinction to make when reading a 2150 diagram is between “Manifold Vacuum” and “Ported (or Timed) Vacuum.” Manifold vacuum ports are located below the throttle plates; they provide a strong vacuum signal at idle. Ported vacuum ports are located just above the throttle plates; they offer no signal at idle but increase in strength as the throttle opens.
On a standard 2150 casting, you will typically find the following:
- ✓ Port S (Spark Port): Located on the passenger side, this provides ported vacuum to the distributor vacuum advance.
- ✓ Port E (EGR Port): Usually found on the front or side, this triggers the Exhaust Gas Recirculation valve.
- ✓ Port V (Venturi Port): This small port provides a very weak signal used primarily for vacuum-operated accessory sensors.
- ✓ PCV Port: The largest port, located at the rear base, connects directly to the Positive Crankcase Ventilation valve.
- ✓ Choke Pull-off: An internal or external vacuum passage that partially opens the choke plate once the engine fires.
In later “feedback” models, you may see an electronic solenoid on the back of the carb. This was an early attempt to bridge the gap between mechanical carburation and the upcoming OBD-II era, allowing a primitive computer to adjust the air-fuel mixture based on oxygen sensor data.
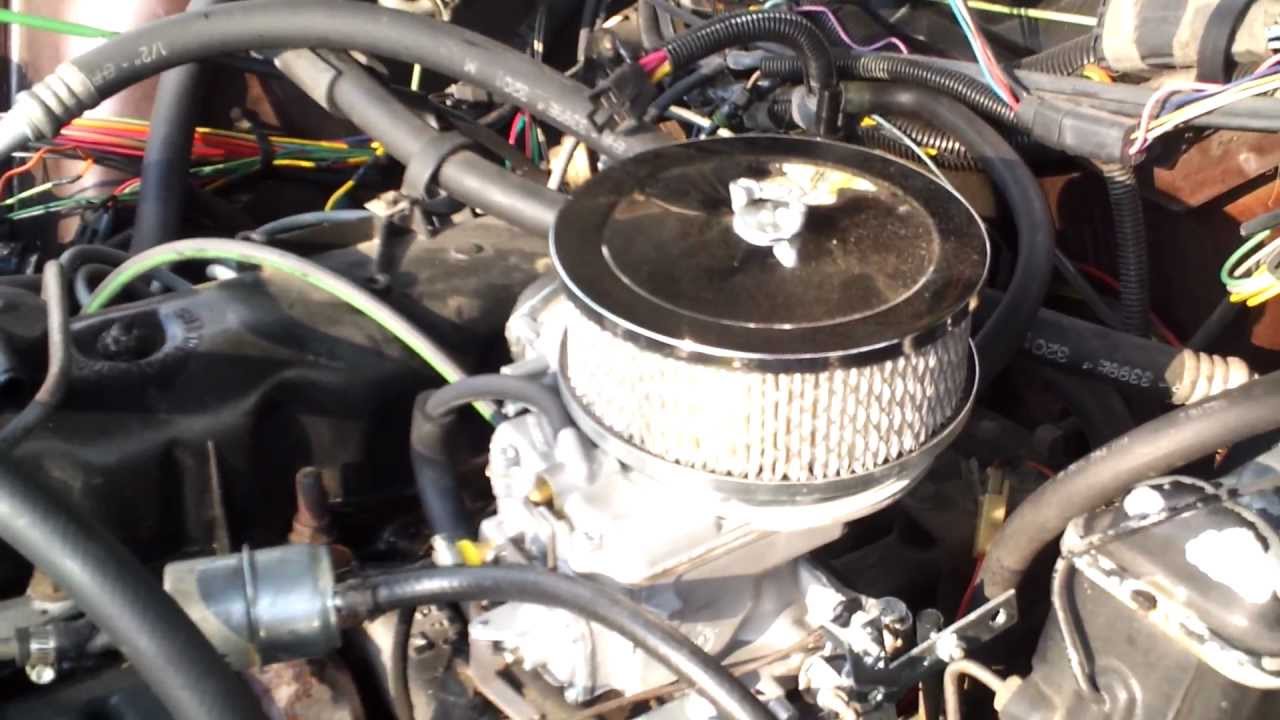
Visual Map of Motorcraft 2150 Vacuum Ports: Identifying Spark, EGR, PCV, and Choke Pull-off locations on front, rear, and side profiles.
Step-by-Step Guide to Routing and Installation
Properly interpreting the diagram motorcraft 2150 carburetor vacuum ports requires a methodical approach. Because these carburetors were used across many different vehicle lines, your specific hose routing might differ slightly from a generic diagram. Follow these steps to ensure a leak-free installation.
Always perform vacuum work with the engine off and cool. Gasoline vapors are highly flammable; ensure you have a fire extinguisher nearby and work in a well-ventilated area.
- Clear the Workspace: Before removing old lines, take a photo of the current setup. Even if it’s wrong, it provides a baseline. Remove the air cleaner assembly to gain full access to the carb body and the accessory belt area.
- Identify the PCV Source: Start with the largest line. Locate the PCV valve on the valve cover and trace it to the large 3/8″ port at the rear of the carburetor base. This is a manifold vacuum source.
- Map the Spark Advance: Locate the vacuum canister on your distributor. Using your diagram, identify “Port S” (usually on the passenger side of the carb, mid-body). Connect a dedicated vacuum hose between these two points. If this is hooked to manifold vacuum by mistake, your idle will be high and erratic.
- Configure the EGR System: Connect “Port E” to the EGR valve. In many Ford setups, this line will first pass through a PVS (Ported Vacuum Switch) located in the thermostat housing to ensure the EGR only opens when the coolant flow has reached operating temperature.
- The Choke Pull-off: Ensure the vacuum diaphragm for the choke is connected. On some 2150 models, this is an internal passage, while others use a short “loop” of rubber hose on the rear passenger side.
- Check for Accessory Ports: If your vehicle has power brakes or vacuum-operated 4WD, these lines typically pull from a vacuum tree located on the intake manifold, not the carburetor itself. However, verify the diagram to ensure no ports are left open.
- Plug Unused Ports: If your specific engine build does not use an EGR or a charcoal canister, you must use high-quality vacuum caps to seal the corresponding ports on the carburetor. An open port is a massive vacuum leak.
- Final Torque and Inspection: Once lines are routed, check the mounting nuts. The standard torque spec for the carburetor base bolts is typically 12-15 lb-ft. Over-tightening can warp the base plate, leading to permanent leaks.
Using a handheld vacuum pump (like a Mityvac) can help you verify that each port is functioning. A “Ported” vacuum nipple should show 0 hg at idle and jump to 15-20 hg when you snap the throttle open.
Troubleshooting Common Vacuum Issues

Even with a perfect diagram motorcraft 2150 carburetor vacuum ports, issues can arise. Because the 2150 predates the modern diagnostic code system, you won’t get a check engine light to tell you what’s wrong. You have to rely on mechanical intuition.
The most common symptom of a vacuum routing error is a “hunting” idle or a stumble upon acceleration. If you have mistakenly swapped the Spark and EGR ports, the engine may hesitate or “ping” under load. A massive vacuum leak, such as a cracked PCV hose or an unsealed base gasket, will cause a lean condition. This often results in the engine dying at stoplights or requiring the choke to stay on just to stay running.
While these older systems don’t have an OBD-II port to scan, the principles remain the same. A vacuum leak is essentially unmetered air entering the system. In feedback versions of the 2150, the ECU may attempt to compensate by clicking the mixture control solenoid rapidly, which can be heard as a distinct “tapping” sound. If you encounter a rough idle, use a can of carb cleaner to lightly spray around the base and the ports; if the engine RPM changes, you’ve found your leak.
Tips and Best Practices for Carburetor Maintenance
Maintaining a Motorcraft 2150 is a lost art, but following a few pro tips can keep your system reliable for years. When replacing vacuum lines, always use actual vacuum-rated hose. Using fuel line or heater hose is a common mistake; these hoses are not designed to withstand the “collapsing” force of a vacuum and will eventually shut off the signal to your components.
Color-code your vacuum lines with small bands of electrical tape or heat shrink. Use red for manifold vacuum, blue for ported vacuum, and green for EGR. This makes future troubleshooting significantly faster.
Additionally, consider the “holistic” health of your engine. A vacuum port is only as good as the vacuum the engine creates. If your timing chain is stretched or your valves are poorly adjusted, the vacuum signal will be “jittery,” making the carburetor impossible to tune. While you are working on the carburetor, take a moment to inspect your accessory belt for cracks and ensure your coolant flow is unobstructed, especially if you use a heated carb spacer.
When it comes to component quality, don’t skimp on the power valve. The Motorcraft 2150 is famous for blowing the power valve during an engine backfire. If your carb suddenly starts running extremely rich and won’t idle, the power valve diaphragm is likely ruptured. Modern replacement kits often include a “backfire protection” check ball to prevent this common failure.
Conclusion: Achieving Peak Performance
Mastering the diagram motorcraft 2150 carburetor vacuum ports is the key to unlocking the true potential of your classic engine. By correctly identifying the ported and manifold sources, you ensure that your distributor advances at the right moment and your emissions systems function as intended without robbing you of horsepower. Whether you are dealing with a feedback model managed by an early ECU or a purely mechanical setup, the integrity of your vacuum lines is paramount. With the right tools, a bit of patience, and the detailed mapping provided here, you can eliminate rough idles and enjoy the smooth, reliable performance that the Motorcraft 2150 was designed to deliver. Keep your torque specs in mind, watch for leaks, and your vintage ride will be ready for the road.
Frequently Asked Questions
Where is the Motorcraft 2150 vacuum port located?
The vacuum ports are located around the base and sides of the carburetor body. The PCV port is usually at the rear base, while the timed or ported spark port for the distributor is typically found on the passenger side near the throttle linkage and fuel bowl.
What does this vacuum diagram show?
This diagram shows the specific routing for the PCV, EGR, and distributor advance lines. It illustrates where each hose connects between the carburetor body and engine components to ensure the system maintains correct vacuum pressure for smooth operation and appropriate ignition timing advance during acceleration.
How many vacuum connections does a 2150 have?
The Motorcraft 2150 typically features between three to five main vacuum connections depending on the specific application. These usually include the power valve source, distributor vacuum advance, EGR port, PCV fitting, and sometimes a choke pull-down or carbon canister purge line for emissions control.
What are the symptoms of a bad vacuum connection?
Symptoms include rough idling, stalling, and poor fuel economy. While these carburetors predate OBD-II, a leak can mimic a modern diagnostic code or trigger a check engine light in hybrid-electronic transition systems by causing lean misfires, erratic sensor readings, or high manifold pressure at idle.
Can I replace the vacuum lines myself?
You can replace vacuum lines yourself with basic hand tools. It is a straightforward DIY task that involves matching hose diameters and following the diagram exactly. Ensure all fittings are tight and free of rot to prevent leaks that could lead to poor engine driveability and power.
What tools do I need for vacuum port maintenance?
You will need a vacuum hose cutter, pliers for spring clamps, and a vacuum gauge for testing. Additionally, a small torque wrench is useful if you need to check the carburetor mounting nuts to ensure they meet the specific torque spec for a vacuum-tight base seal.


