Ford Expedition Fuse Box Diagram: Quick Identification Guide
The 2001 Ford Expedition fuse box diagram identifies two main locations: the passenger compartment fuse panel located under the dashboard to the left of the steering column, and the power distribution box found in the engine compartment near the battery. These diagrams are essential for identifying circuits related to the ECU and OBD-II systems.
📌 Key Takeaways
- Identifies both the interior fuse panel and the engine bay power distribution box.
- Crucial for pinpointing the specific fuse responsible for a check engine light or power loss.
- Always check the fuse before replacing expensive electronic components like the ECU.
- Use the diagram to verify the correct amperage for each circuit to prevent electrical fires.
- The interior panel is typically responsible for cabin electronics, while the engine box handles high-current loads.
The 2001 Ford Expedition remains a staple of the full-size SUV market, known for its towing capacity and spacious interior. However, as these vehicles age, electrical gremlins are almost inevitable. Whether your power windows have stopped mid-roll, your radio has gone silent, or your engine refuses to crank, the first place any DIY enthusiast should look is the fuse box. Understanding the 2001 Ford Expedition fuse box diagram is not just about finding a blown wire; it is about diagnosing the health of your vehicle’s entire electrical nervous system. This guide provides a comprehensive breakdown of the fuse locations, amperage ratings, and troubleshooting techniques specifically for the 2001 model year.
Main Components and Fuse Box Locations
The 2001 Ford Expedition features two primary electrical hubs: the Passenger Compartment Fuse Panel and the Power Distribution Box located in the engine compartment. Each serves a distinct purpose, and knowing which one to access can save you significant time under the hood.
1. Passenger Compartment Fuse Panel: This box is located inside the cabin, specifically to the left of the steering column, tucked behind a removable plastic cover under the instrument panel. It houses the smaller “mini-fuses” that protect interior electronics, lighting, and low-amperage control modules. This panel also interfaces with the Generic Electronic Module (GEM), which controls many of the SUV’s timed functions like the dome light delay and wiper intervals.
2. Power Distribution Box (Engine Compartment): Located on the driver’s side of the engine bay, near the battery, this high-voltage hub contains larger “Maxi-fuses” and high-current relays. It is responsible for protecting the powertrain, cooling fans, fuel pump, and trailer towing circuits. Because of its proximity to the engine’s heat and moisture, this box is protected by a heavy-duty plastic lid that must be unlatched to access the components inside.
Detailed Fuse Diagrams and Descriptions

To effectively repair your Expedition, you need to know which fuse corresponds to which circuit. Below is a breakdown of the most commonly accessed fuses in both locations.
Passenger Compartment (Interior) Fuse Highlights
- Fuse 1 (25A): Front Wiper/Washer Motor. If your wipers stop during a storm, check this first.
- Fuse 8 (5A): Radio, Remote Entry, and Power Mirrors. If your radio won’t turn on but the display works, it could be a blown fuse 8.
- Fuse 13 (20A): Stop lamps and Hazard lamps. This is a critical safety fuse; if your brake lights are out, check this before replacing bulbs.
- Fuse 15 (5A): Stop Lamp Switch (Speed Control). If your cruise control stops working, this fuse is often the culprit.
- Fuse 22 (10A): Airbag Module. Warning: Handle with extreme caution.
- Fuse 30 (30A): High Beam Headlamps.
Power Distribution Box (Under Hood) Highlights
- Fuse 1 (20A): Fuel Pump Relay Power. Often indicated by a Red/Yellow wire leading to the pump.
- Fuse 103 (50A): Junction Box Battery Feed. This feeds the interior fuse panel. If this blows, the entire interior of the car will go dark.
- Relay 1: Fuel Pump Relay. If the engine cranks but won’t start, listen for the “click” of this relay when the key is turned to ‘On’.
- Relay 5: PCM (Powertrain Control Module) Relay. This is the “brain” relay; without it, the SUV is immobilized.
How to Read and Use the Fuse Box Diagram

Reading a Ford fuse diagram requires understanding the “grid” system. Each fuse slot is numbered. On the back of the fuse box plastic covers, you will usually find a molded plastic map showing these numbers. However, these maps can fade or become unreadable over 20 years. When looking at the physical fuse, look for the amperage rating printed on the top of the fuse (e.g., 5, 10, 15, 20, 30).
To test a fuse without pulling it out, look at the two small metal contact points on the top of the fuse. Using a 12V test light or a multimeter set to DC voltage, touch one probe to ground and the other to each of these metal points. If the fuse is good, the test light will glow on both sides. If it glows on one side but not the other, the internal wire is broken (blown).
When inspecting the wiring, pay attention to the colors. For example, the wire leading from the Passenger Fuse 13 (Brake Lights) is typically Light Green. If you find a melted Light Green wire near the steering column or the rear hatch, you have found your short circuit. Standard mini-fuses for the 2001 Expedition are approximately 10.9mm in width, while Maxi-fuses are significantly larger, around 29mm.
Troubleshooting Common Electrical Issues
The 2001 Ford Expedition is prone to a few specific electrical failures that DIYers should be aware of. Often, the fuse is just a symptom of a larger problem.
1. The “Wet GEM” Syndrome: One of the most famous issues with the 2001 Expedition is a leaking windshield seal on the driver’s side. Rainwater drips directly onto the interior fuse box and the attached GEM module. This causes “phantom” electrical issues: wipers turning on by themselves, windows rolling down, or the battery draining overnight. If you find corrosion (green crust) on your interior fuses, you likely have a windshield leak that needs to be sealed with silicone or replaced.
2. Fuel Pump Relay Failure: If your SUV cranks but won’t fire, and you’ve confirmed the fuel pump fuse is intact, the relay in the engine compartment might be burnt out. Relays are mechanical switches; they can fail over time. You can troubleshoot this by swapping the Fuel Pump Relay with an identical, non-essential relay (like the A/C Clutch relay) to see if the vehicle starts.
3. Trailer Towing Shorts: The Expedition is frequently used for towing. The trailer wiring harness at the rear bumper is exposed to road salt and debris. A short in the trailer plug will often blow the “Trailer Tow” fuses in the Power Distribution Box. If you lose your trailer lights, check the 20A fuses in the under-hood box before tearing apart the trailer wiring.
Maintenance Tips for Your Electrical System
To keep your 2001 Ford Expedition running reliably, follow these maintenance tips:
- Keep it Clean: Periodically open the under-hood power distribution box and blow out any dust or debris with compressed air. Ensure the seal on the lid is seated properly to prevent moisture ingress.
- Dielectric Grease: If you live in a high-humidity area or the “Rust Belt,” applying a small amount of dielectric grease to the pins of the Maxi-fuses can prevent oxidation.
- Battery Health: A weak battery (less than 12.4V) can cause electrical modules to behave erratically, leading you to believe a fuse or relay is bad. Always ensure your battery terminals are tight and free of corrosion (clean them with a mixture of baking soda and water).
- Document Changes: If you add aftermarket accessories like an LED light bar or a high-end stereo, do not tap into existing fuse circuits. Instead, use an “Add-a-Circuit” fuse tap or run a dedicated line from the battery with its own inline fuse.
By understanding the layout and function of your 2001 Ford Expedition’s fuse boxes, you empower yourself to handle many repairs that would otherwise cost hundreds of dollars at a dealership. Most electrical fixes on this vehicle are straightforward—once you know which fuse to pull.
Step-by-Step Guide to Understanding the Ford Expedition Fuse Box Diagram: Quick Identification Guide
Identify the electrical issue by noting which component has lost power or if a diagnostic code is present.
Locate the appropriate fuse box using the diagram, choosing either the interior panel or the engine compartment box.
Understand how the numbering on the physical box matches the diagram to find the specific circuit for the ECU or accessory.
Apply the fuse puller to remove the suspected fuse and inspect the internal filament for signs of breakage or burning.
Verify that the replacement fuse matches the exact amperage rating listed on the diagram to protect the vehicle’s wiring.
Complete the repair by reinserting the fuse, starting the vehicle, and checking if the check engine light or original symptom persists.
Frequently Asked Questions
Where is the fuse box located?
On the 2001 Ford Expedition, the interior fuse panel is positioned under the instrument panel on the driver’s side, near the brake pedal. The secondary power distribution box is located under the hood in the engine compartment, usually housed in a black plastic box on the driver’s side near the battery.
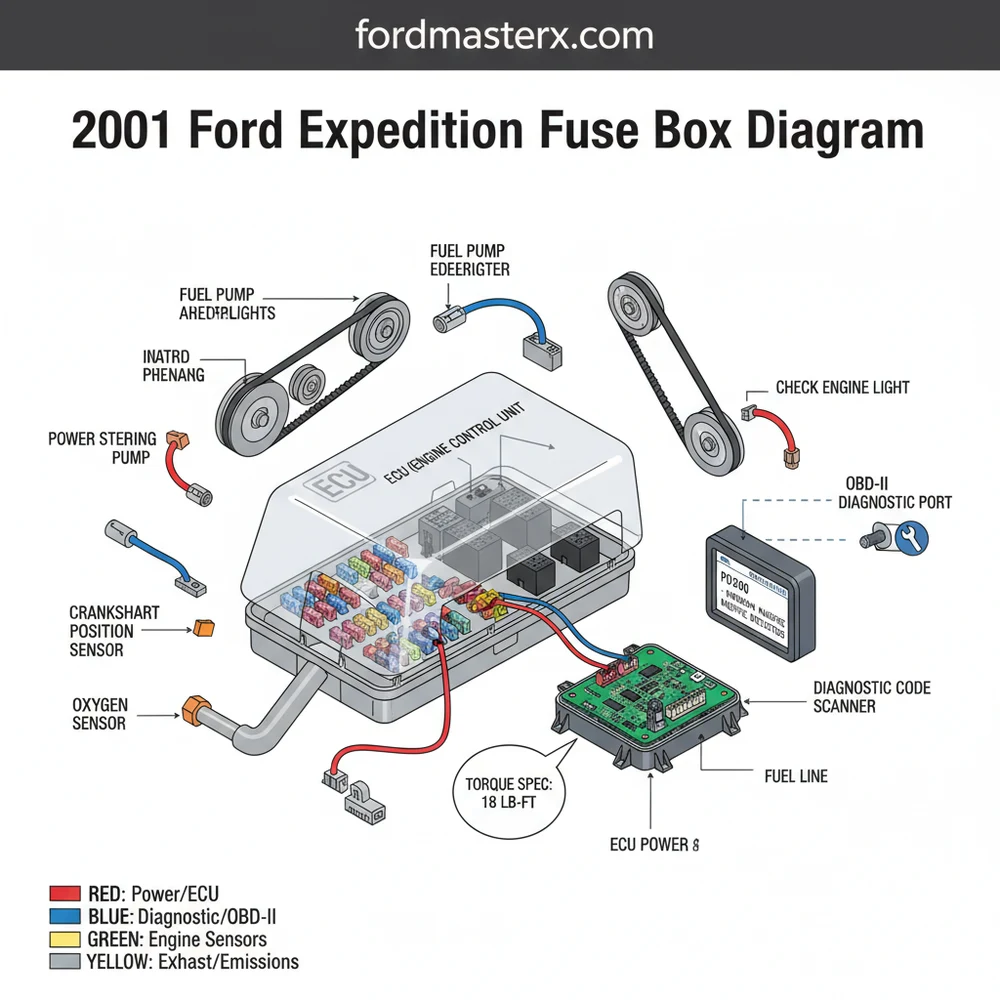
What does this diagram show?
This diagram illustrates the layout and numbering of every fuse and relay in the vehicle. It provides a visual map that correlates fuse numbers with specific electrical circuits, such as the fuel pump, radio, or ECU, allowing owners to identify which component is tied to which specific fuse location.
How many connections does the ECU fuse have?
The ECU fuse typically resides in the engine bay power distribution box and utilizes a standard two-pin blade connection. While the fuse itself has two terminals, it protects a complex network of sensors and modules that connect via the main wiring harness to the vehicle’s central computer and OBD-II diagnostic port.
What are the symptoms of a bad fuse?
A blown fuse will cause a sudden loss of power to a specific component. If your radio dies, a check engine light appears, or the OBD-II port fails to communicate with a scanner, a broken filament in the fuse is likely. Visually inspect the fuse for a melted internal metal strip.
Can I replace this myself?
Yes, replacing a fuse is a simple DIY task that requires no major mechanical skills. Once you identify the failed circuit using the diagram, you simply pull the old fuse and insert a new one of the same amperage. This often resolves electronic issues without needing a professional mechanic or expensive tools.
What tools do I need for this task?
You primarily need a plastic fuse puller tool, which is often found inside the fuse box cover itself. For deeper troubleshooting, a multimeter or test light is helpful. If you are tightening the battery terminals or fuse box brackets, ensure you follow the manufacturer’s torque spec to avoid stripping the hardware.


