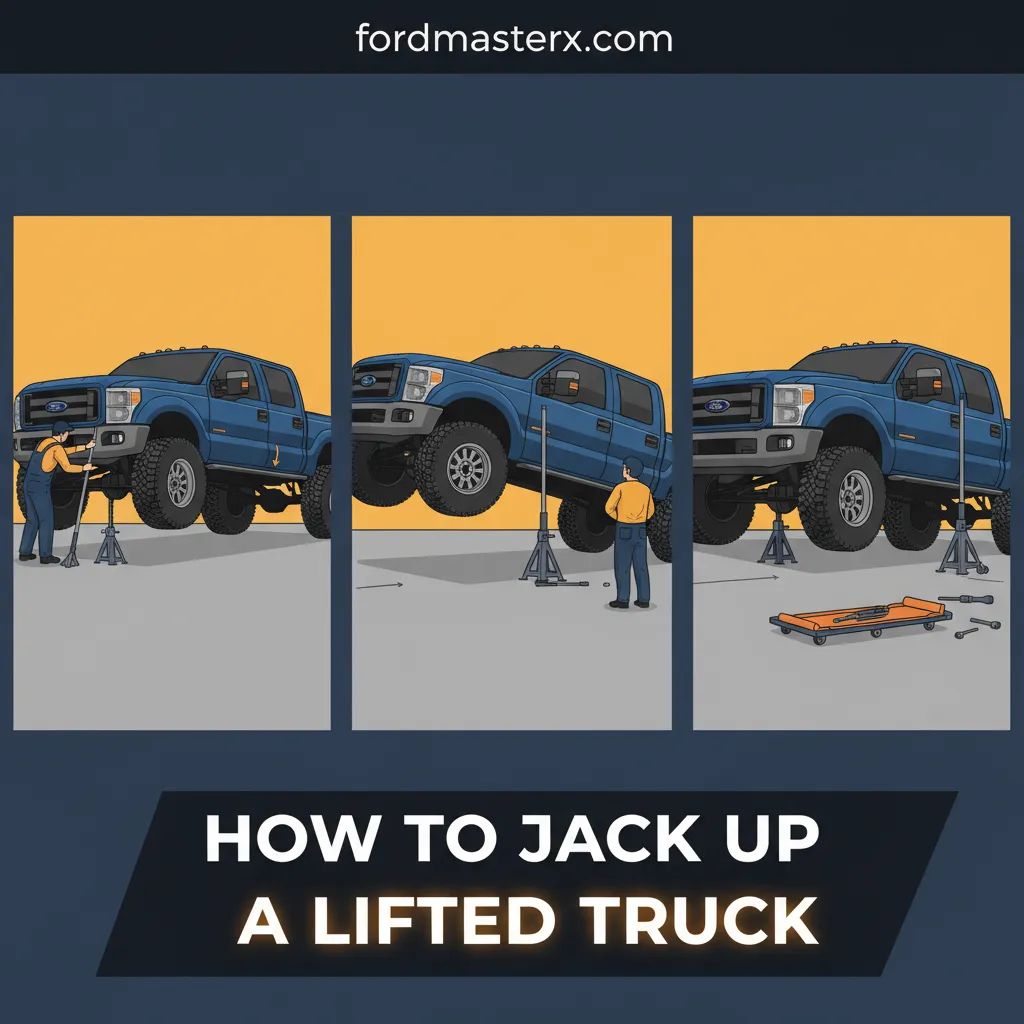
How To Jack Up A Lifted Truck: Technical Procedures And Safety Equipment
Lifting a modified truck requires significantly more technical precision than a standard vehicle due to the increased center of gravity and extended suspension travel inherent in high-clearance builds. When you move beyond factory specifications, the margin for error shrinks; standard automotive jacks often lack the vertical reach to even contact the frame, and if used improperly, they pose a catastrophic risk of vehicle collapse. This is not merely about changing a tire; it is about managing thousands of pounds of kinetic potential. In this guide, you will master the exact equipment specifications, structural jack points, and safety redundancies required to safely elevate your lifted vehicle for maintenance, ensuring both the longevity of your rig and your own physical safety.
Assessing Specialized Equipment for High-Clearance Vehicles
📤 Share Image
The most common mistake beginner enthusiasts make is attempting to use a standard 2-ton trolley jack on a vehicle with a 6-inch suspension lift and 35-inch tires. Most standard passenger car jacks peak at roughly 14 inches of vertical travel. However, a lifted truck often requires a minimum of 24 to 30 inches of vertical travel just to clear the tires from the ground, especially when accounting for suspension droop. You must understand that the height of your truck’s frame is only half the battle; the jack must also account for the distance the axle will hang before the tire actually lifts.
Hydraulic Floor Jacks and Extensions
For shop environments, a heavy-duty hydraulic floor jack with a minimum 3-ton capacity is essential. I recommend the Pro Eagle Big Wheel Jack or a similar high-clearance model. These units are specifically designed with extended reach and large wheels to maneuver under modified chassis. If you are using a standard high-capacity jack, you must employ adjustable saddles or specialized jack extensions. These extensions sit securely in the jack’s lifting cup, providing an additional 4 to 8 inches of height without compromising the hydraulic stroke’s stability.
Secondary Support and Inspections
Selection of jack stands is equally critical. You should opt for 12-ton heavy-duty jack stands. The higher tonnage isn’t just about weight capacity; it’s about the physical footprint. A 12-ton stand has a much wider base, which provides the lateral stability needed for a vehicle with a high center of gravity. Before beginning any lift, perform a rigorous inspection protocol: check hydraulic seals for weeping fluid, ensure the mechanical locking pins on your stands are not deformed, and verify that the jack’s release valve operates smoothly.
Never use a High-Lift (Farm) jack for routine maintenance or oil changes. These mechanical jacks lack the stability of hydraulic floor jacks and are prone to “tripping” sideways. They are recovery tools, not shop tools.

Stabilization Protocols and Surface Preparation
Before the jack ever touches the chassis, you must discover how to properly secure the vehicle’s footprint. The laws of physics are unforgiving with lifted trucks; a slight incline or a soft surface can turn a routine lift into a disaster. Statistics show that over 60% of vehicle-lift accidents are attributed to improper chocking or lifting on soft/unlevel ground, such as asphalt on a hot day which can soften and allow a jack stand to “sink.”
The Foundation: Concrete vs. Asphalt
Always perform your lift on reinforced level concrete. If you must work on asphalt, you must use steel plates under both the jack and the stands to distribute the load. A 7,000 lb truck exerts massive localized pressure on the four small points of a jack stand. On a 90-degree day, that pressure is sufficient to punch through residential-grade asphalt, causing an immediate tilt and subsequent collapse.
Stabilization Procedures
The Rule of Two for wheel chocking is your primary line of defense. You must secure both the front and back of the tires on the axle that is not being lifted. If you are lifting the front end, the rear tires must be chocked using industrial-grade rubberized chocks. Plastic chocks often slip on smooth garage floors and should be avoided. Once chocked, engage the emergency brake and, for manual transmissions, shift the vehicle into First Gear or Reverse. For automatics, ensure the parking pawl is fully engaged in Park.
When you lift one end of a high-clearance truck, the center of gravity shifts dramatically toward the opposite axle. Clearing the workspace of even minor debris like zip ties or gravel is vital, as these can cause the jack’s hydraulic rollers to bind, leading to a “kick-out” where the jack shoots out from under the truck.

Identifying Structural Jack Points on Modified Chassis
Finding the correct lifting point on a modified truck is vastly different than a standard vehicle. You must explore the structural geometry of your specific chassis to avoid damaging expensive aftermarket components. Lifting by the wrong point can result in bent control arms, crushed rocker panels, or ruptured differential seals.
Frame-Rail vs. Axle Lifting
For most suspension work, you need to lift by the frame rails to allow the suspension to droop. On a Ford F-150, the frame is a fully boxed steel section; identify a flat area away from body mounts and fuel lines. For tire rotations or brake work, lifting by the axle tube is often more efficient. However, you must locate the “sweet spot” on solid axles—typically just outboard of the differential housing but inboard of the shock mounts. Avoid the center ‘pumpkin’ of the differential housing; while many do it, the pumpkin is a rounded surface that makes the vehicle balance precariously and can cause seal leaks under the concentrated weight of a 5,000+ lb vehicle.
✅ Safe Lift Points
- Main longitudinal frame rails
- Solid axle tubes (outboard)
- Reinforced front cross-members
- Suspension mounting brackets (beefed up)
❌ Prohibited Points
- Aluminum control arms
- Sway bars or end links
- Steering linkages/Tie rods
- Rocker panels or step bars
Protecting Aftermarket Finishes
Many lifted trucks feature powder-coated frames or suspension components. To prevent metal-on-metal slippage and protect the finish, utilize magnetic jack pads. these polyurethane or rubber blocks snap onto the frame rail or sit in the jack cup, providing a high-friction interface that significantly reduces the risk of the jack sliding off a smooth, painted surface. This is especially comprehensive when dealing with Jeep Wranglers, where the solid axle provides a limited surface area for contact.
Executing the Lift and Secondary Support Placement
The physical process of elevation must be treated as a controlled maneuver. Speed is the enemy of safety. You must master the incremental lift technique to ensure that the vehicle remains centered throughout its vertical travel.
📋
Step-by-Step Guide: The Lift-Set-Check Method
Raise the vehicle in 2-inch bursts. After each burst, pause and inspect the jack’s position. Watch for any horizontal movement (kick-out) as the truck’s suspension geometry changes during the lift.
Position your 12-ton jack stands under the frame rails. Avoid over-extending the center post; if the stand is at its final notch, you need a taller stand or a different lift point. Lower the hydraulic jack slowly to ‘set’ the weight fully onto the stands.
Once the weight is on the stands, do not remove the floor jack. Instead, pump it up until it just touches the frame again. This creates a “Secondary Redundancy” in case of a mechanical stand failure.
Remember that jack stands are rated by the pair, not individually. A 6-ton stand pair actually only supports 3 tons per stand safely. For any vehicle with a GVWR exceeding 8,000 lbs (common for lifted heavy-duty trucks), you require 12-ton stands to maintain a minimum 25% safety margin and ensure structural integrity under load.
Post-Elevation Safety Checks and Workspace Management
The final phase before you crawl under the vehicle is the verification of stability. This is where most beginner mechanics fail—they assume the truck is secure because it looks level. You must understand that visual cues are deceptive when dealing with high-mass objects.
The Lateral Shake Test
Once the truck is “set” on the stands and the floor jack is in its redundant position, perform the Lateral Shake Test. Firmly grasp the bumper or frame and give the vehicle a deliberate shake. If you see any movement in the jack stands or hear any metal-on-metal shifting, the truck is not secure. A 1% tilt in a jack stand can reduce its load-bearing capacity by up to 30%. If it fails the shake test while you are standing next to it, it would have failed while you were under it.
Safety by The Numbers
Tilt reducing capacity by 30%
Recommended Stand Rating
Required Vertical Travel
Establishing the Safety Zone
While working, maintain a strict Safety Zone around the truck. Keep pets and children out of the garage entirely. Organize your tools so they are within reach but not under the vehicle, preventing tripping hazards that could lead you to bump into a jack stand. Finally, when reversing the process, beware of rapid release valves. Many hydraulic jacks drop the vehicle much faster when under load; always crack the valve open with microscopic movements to avoid a sudden shock to the suspension and tires.
Stability Check
Perform the shake test and verify stand alignment.
Tool Clearance
Ensure all tools are cleared from paths and under-chassis areas.
Successfully lifting a modified truck is a hallmark of a seasoned owner. By using high-capacity, high-reach hydraulic jacks and 12-ton jack stands, identifying structural frame points over fragile suspension parts, and strictly adhering to the Set-and-Check method, you ensure every maintenance session is as safe as it is productive. Before your next oil change or suspension adjustment, audit your current garage equipment to ensure it meets the tonnage and height requirements for your specific lift kit. Do not settle for “close enough”—the weight of your rig demands precision.
Frequently Asked Questions
Can I use a standard 2-ton floor jack for a lifted 3/4-ton truck?
No. A standard 2-ton jack typically lacks the hydraulic stroke to reach the frame and the weight capacity to safely handle a heavy-duty truck. Most lifted 3/4-ton trucks weigh between 6,000 and 8,000 lbs; you should utilize at least a 3.5-ton high-lift floor jack to maintain a safe working load limit.
Is it safe to jack up a truck by the rear differential?
While common, jacking by the differential ‘pumpkin’ can be risky. It provides a narrow balance point, increasing the chance of the truck tipping. Furthermore, on some vehicles, the weight can stress the housing seals. It is safer to lift from the axle tubes or the frame rails using a jack with a wide saddle or extension.
What is the best jack for a truck with a 6-inch lift and 37-inch tires?
A heavy-duty floor jack with a minimum 24-inch lift height is ideal. Brands like Pro Eagle offer off-road jacks with built-in extensions specifically for this purpose. If you are in the field, a high-lift jack (farm jack) can work, but it is much less stable and should only be used for emergency tire changes.
How do I prevent my jack stands from sinking into the ground?
Always work on a level concrete surface. If you must lift on a softer surface, use a 3/4-inch thick plywood ‘spreader plate’ or a steel plate under the jack and stands to distribute the PSI across a larger surface area. Never use cinder blocks, as they can crumble under the concentrated pressure of a truck.
Why does the truck move forward slightly when I jack it up?
As the floor jack’s arm raises in an arc, it naturally pulls the vehicle toward the jack. To manage this, ensure the jack’s wheels are clean and can roll freely. This allows the jack to move under the vehicle rather than pulling the vehicle off the jack stands or causing the jack to tilt.