Ford Excursion Fuse Box Diagram: Diagnosis & Fix Guide
The 2000 Ford Excursion features two main fuse panels. The interior fuse box is located under the steering column on the driver’s side, while the power distribution box is in the engine compartment near the brake fluid reservoir. Use these diagrams to identify specific circuits for components like the fuel pump or OBD-II port.
📌 Key Takeaways
- The diagram identifies locations for both the passenger cabin and engine bay fuse panels.
- Crucial for identifying the ECU fuse which can cause no-start conditions.
- Always replace fuses with the exact amperage rating specified in the diagram.
- The OBD-II port fuse is often shared with the cigarette lighter circuit.
- Use this diagram when a check engine light appears but the scanner won’t power up.
Understanding your 2000 ford excursion fuse box diagram is the first step toward mastering the electrical system of this massive SUV. Whether you are dealing with a dead radio, a malfunctioning trailer brake, or a more serious issue like the check engine light flashing on your instrument cluster, knowing where your power is routed is essential for DIY maintenance. This guide provides a detailed breakdown of both the interior and engine bay fuse panels, explaining the location and function of every circuit. You will learn how to identify specific components, troubleshoot electrical failures using a multimeter, and ensure your vehicle’s ECU remains powered for peak performance.
The 2000 Ford Excursion is equipped with two primary fuse locations that manage the complex electrical demands of its heavy-duty chassis. The first location is the Passenger Compartment Fuse Panel, which is situated under the dashboard to the left of the steering column. This panel primarily handles lower-amperage accessories and sensitive electronics, including the instrument cluster and the OBD-II diagnostic port. The second location is the Power Distribution Box, found in the engine compartment on the driver’s side, near the battery. This high-voltage hub manages heavy-duty components such as the starter motor, high-draw lighting, and the cooling system relays.
The diagram for the passenger compartment uses a numerical grid, typically ranging from 1 to 31. These fuses are mostly “Mini” type fuses, color-coded by amperage (e.g., blue for 15A, yellow for 20A). The Power Distribution Box under the hood uses a combination of “Maxi” fuses and full-sized relays. Relays are square, black plastic boxes that act as remote-controlled switches for high-current loads like the fuel pump or air conditioning compressor. It is important to note that while most 2000 Excursions share a common layout, there may be slight variations between the 7.3L Powerstroke diesel, the 5.4L V8, and the 6.8L V10 gasoline models, particularly regarding the glow plug relays or specific fuel system components.
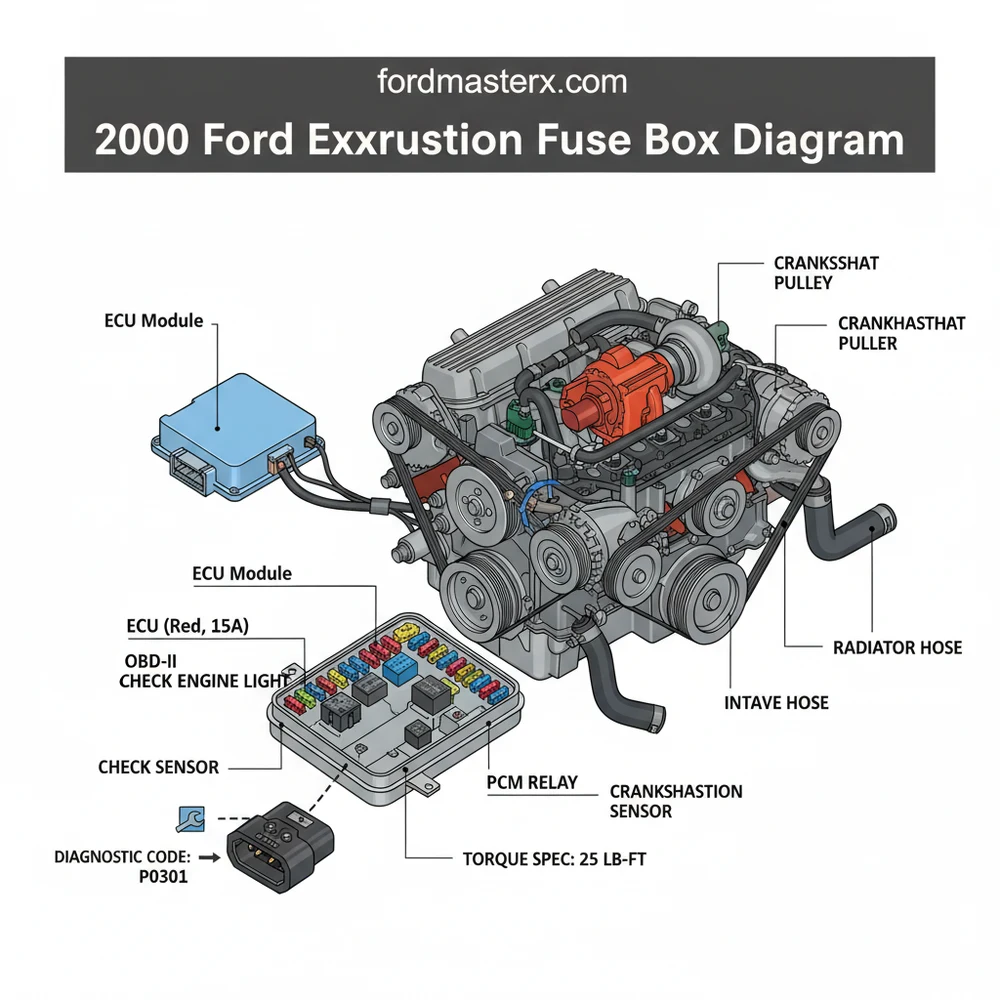
This visual representation displays the numerical sequence of the passenger compartment panel (1-31) and the high-current power distribution box (Fuses 1-25 and Relays 1-10).
Interpreting the 2000 ford excursion fuse box diagram requires a systematic approach to ensure you are testing the correct circuit without causing further electrical issues. Follow these steps to diagnose and resolve your electrical problems effectively.
On the 2000 Excursion, the OBD-II port (where you plug in a scanner to read a diagnostic code) is often powered by the same fuse as the cigar lighter (Fuse #3 in the interior panel). If your scanner won’t turn on, check this fuse first!
- Access the Panels: For the interior panel, pull the cover handle toward you to release the clips. For the engine compartment box, unlatch the plastic tabs on the sides of the black box located near the master cylinder.
- Locate the Specific Circuit: Use the diagram to find the number associated with the failing component. For example, if your power mirrors aren’t working, you would look for the fuse labeled “Power Mirrors” in the interior panel.
- Visual Inspection: Use a fuse puller tool (usually located inside the engine bay fuse box lid) to remove the fuse. Hold it up to a light source. If the metal filament inside the plastic is broken or there is a dark scorch mark, the fuse is blown.
- Test with a Multimeter: To be 100% certain, set a multimeter to the “Continuity” or “Ohms” setting. Touch the probes to the two small metal test points on the top of the fuse. If the meter beeps or shows near zero resistance, the fuse is good.
- Analyze the Load: Before replacing a blown fuse, consider why it blew. If you were towing a heavy trailer, the accessory belt or trailer wiring might have a short circuit. If the ECU fuse blew, check the wiring harness near the engine for signs of heat damage.
- Select the Correct Replacement: Always replace a fuse with one of the exact same amperage. If the diagram calls for a 15A fuse, do not use a 20A fuse, as this can lead to melted wires or an electrical fire.
- Verify Operation: Once the new fuse is installed, turn the ignition to the “On” position and test the component. If the fuse blows again immediately, you have a “hard short” in the wiring that requires professional investigation.
- Clear Diagnostic Codes: If the fuse was related to the engine or transmission, use an OBD-II scanner to clear any stored P-codes. This will turn off the check engine light and allow the ECU to relearn its operating parameters.
Never bridge a fuse with a piece of wire or a coin. Fuses are designed to be the “weak link” in a circuit; bypassing them can cause the wiring harness to melt, leading to catastrophic vehicle fires.
When troubleshooting a 2000 Ford Excursion, several common issues frequently point back to the fuse box. A very common complaint is the loss of power to the OBD-II port, which prevents technicians from reading a diagnostic code when the check engine light is illuminated. As mentioned, this is almost always a blown cigar lighter fuse. Another frequent issue involves the fuel pump relay in the engine bay box; if this relay fails, the engine will crank but refuse to start, often leading owners to mistakenly believe they have a failure in the timing chain or fuel injectors.
You should also look for signs of “parasitic draw,” where a component continues to pull power even when the vehicle is off. If your battery dies overnight, you can use the fuse box to find the culprit by pulling fuses one by one while monitoring battery drain with an ammeter. If you notice signs of corrosion or green “crust” on the fuse terminals, this indicates moisture intrusion, which can cause intermittent electrical gremlins across the entire vehicle. If multiple systems fail simultaneously, it often points to a main “Maxi” fuse or a loose ground wire near the battery.
If your Excursion is a diesel model and you are experiencing hard starts in cold weather, check the high-current fuses for the Glow Plug Control Module (GPCM). These fuses handle high amperage and can sometimes loosen over time due to engine vibration.
To maintain the electrical health of your 2000 Ford Excursion, follow these best practices:
- ✓ Keep Spare Fuses: Always carry an assortment of mini and maxi fuses in your glovebox. The Excursion’s size means you might be far from a parts store when a trailer light fuse decides to quit.
- ✓ Check Grounds: Many “fuse” issues are actually ground issues. Ensure the ground strap from the engine to the frame is tight. While no specific torque spec is required for small fuse box bolts, they should be “snug” to ensure a clean connection.
- ✓ Monitor Fluid Leaks: Ensure the coolant flow from the upper radiator hose is not leaking onto the engine bay fuse box. Coolant is conductive and can cause short circuits between relays.
- ✓ Inspect the Accessory Belt: A slipping accessory belt can cause the alternator to output inconsistent voltage, which may lead to “nuisance” fuse blowing or ECU communication errors.
Maintaining your 2000 ford excursion fuse box diagram knowledge is the best way to avoid expensive diagnostic fees at the mechanic. Most electrical issues on this platform are simple fuse or relay failures that can be fixed in minutes for just a few dollars. By systematically checking the diagrams, using the right tools, and following safety protocols, you can keep your Excursion on the road and all its systems functioning as intended. Whether you are prepping for a cross-country tow or just performing routine maintenance, a clear understanding of your fuse layout is an invaluable asset for any Ford owner.
Step-by-Step Guide to Understanding the Ford Excursion Fuse Box Diagram: Diagnosis & Fix Guide
Identify the electrical symptom such as a dead radio, non-functional OBD-II port, or a check engine light.
Locate the passenger compartment fuse box under the dash or the power distribution box in the engine bay.
Understand how the diagram correlates to the physical fuse slots by matching the numerical labels on the panel.
Apply the fuse puller to remove the suspect fuse and check for a broken metal filament inside the plastic.
Verify that the replacement fuse matches the original amperage and check the battery terminal torque spec if power is still missing.
Complete the repair by scanning for any diagnostic code to ensure the system is functioning correctly after the fuse replacement.
Frequently Asked Questions
Where is the Ford Excursion fuse box located?
The 2000 Ford Excursion contains two fuse boxes. The passenger compartment panel is located beneath the steering wheel behind a removable plastic cover. The high-current power distribution box is positioned in the engine compartment on the driver’s side near the firewall, housing large fuses and relays for heavy-duty electrical loads.
What does the fuse box diagram show?
The Ford Excursion fuse box diagram illustrates the location, numerical order, and amperage rating for every electrical circuit in the vehicle. It serves as a visual map to help owners quickly find which fuse controls specific components like the fuel pump, trailer towing lights, or the central ECU system.
How many connections does the power distribution box have?
The primary passenger fuse box contains dozens of mini-fuses and several relays. The under-hood box uses larger Maxi-fuses and full-size relays. Most fuses utilize a standard two-prong connection design, while the battery power distribution block requires specific torque specs when tightening the main terminal connections to ensure a secure fit.
What are the symptoms of a bad fuse in an Excursion?
Common symptoms of a blown fuse include non-functional interior lights, power windows that won’t move, or a check engine light being triggered. If a critical fuse for the ECU or OBD-II port fails, the vehicle may crank but not start, or you might be unable to pull a diagnostic code.
Can I replace the fuses myself?
Yes, replacing a fuse in a Ford Excursion is a simple DIY task that requires no special mechanical training. Always ensure the ignition is off before pulling a fuse. If a new fuse blows immediately after installation, there is likely a short circuit that needs professional electrical diagnosis and repair.
What tools do I need for fuse troubleshooting?
To safely work on the fuse system, you need a plastic fuse puller tool, which is often found inside the fuse box cover. A digital multimeter is helpful for testing continuity, and a basic socket set might be needed if you need to check battery connections or ground points.


