
Ford 4.2 V6 Intake Manifold Removal: Complete Guide
The Ford 4.2L Essex V6 has long been the workhorse of the F-150 and E-Series lineups, prized for its torque-rich power delivery and overall durability. However, even the most reliable engines face periodic maintenance hurdles, and for the 4.2 V6, the intake manifold is a notorious pain point. Whether you are battling the dreaded P0171 and P0174 lean codes or addressing a persistent coolant leak, mastering the complete removal of the intake manifold is a mandatory skill for any professional technician or dedicated DIYer. This comprehensive guide provides the expert insights needed to navigate this multi-stage repair with surgical precision.
Overview: Understanding the Essex V6 Intake Architecture
📤 Share Image
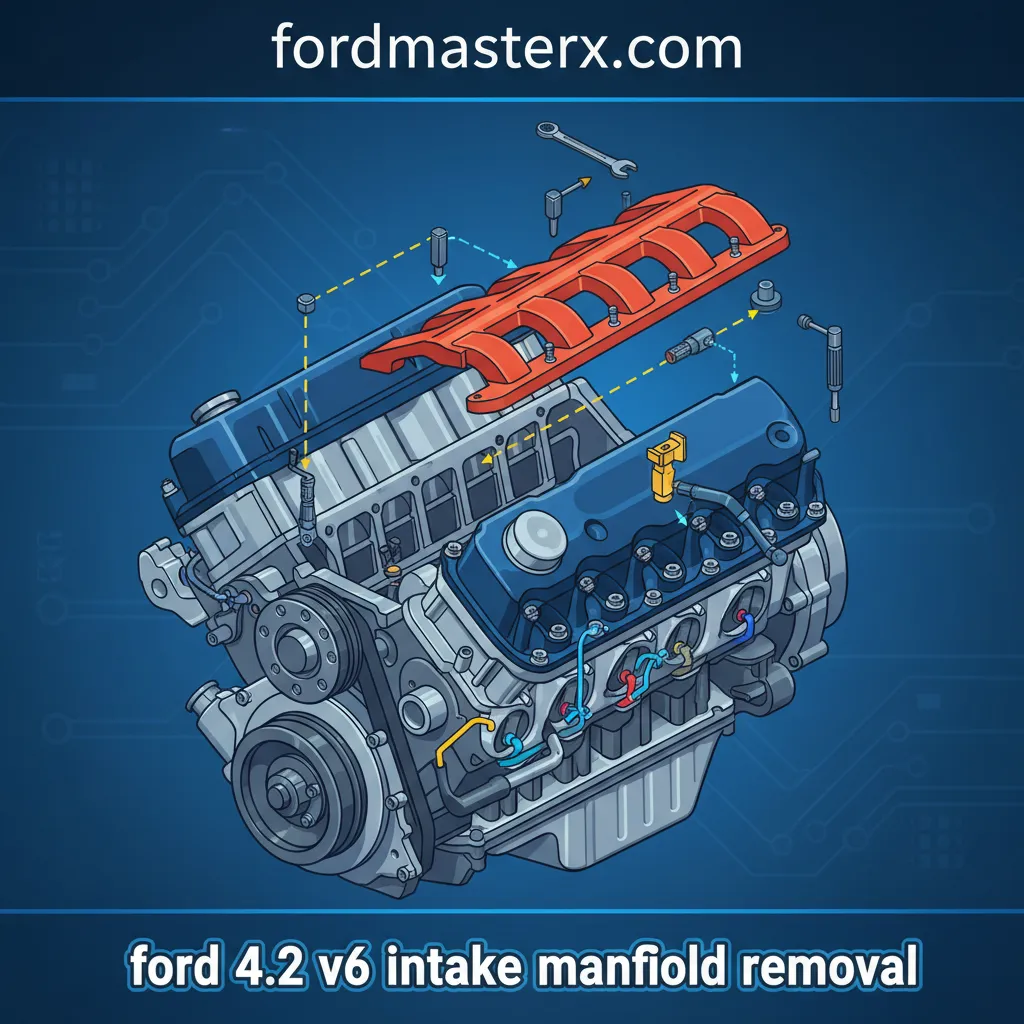
The Ford 4.2 V6 utilizes a “split-port” intake design. This system consists of an upper intake manifold (often called the plenum) and a lower intake manifold. Between these two components sits a series of quality gaskets and specialized isolator bolts. The upper plenum directs air into the lower runners, which are governed by the Intake Manifold Runner Control (IMRC) system. This complexity allows for better low-end torque and high-end horsepower but introduces multiple failure points.
Over time, the rubber grommets on the isolator bolts degrade, losing their tension. This creates a gap between the upper and lower manifolds, leading to massive vacuum leaks that trigger lean-condition codes. Furthermore, the IMRC plastic bushings frequently fail, causing the runner flaps to stick. A professional removal allows you to address all these issues simultaneously, restoring the engine’s factory performance and fuel efficiency.
By The Numbers
Hours for Completion
Crucial Torque Spec
Isolator Bolts to Replace

Key Benefits of a Professional Removal and Refresh
Performing a complete intake manifold service isn’t just about clearing codes; it’s about preventative maintenance. When you follow a trusted removal procedure, you gain access to engine components that are otherwise unreachable, providing several critical advantages:
Restored Fuel Economy
Eliminating unmetered air leaks allows the ECU to maintain the correct stoichiometric ratio, significantly improving MPG.
Smooth Idle & Throttle
Replacing faulty IMRC bushings ensures the butterflies open correctly, eliminating hesitation during acceleration.
Engine Longevity
Addressing lower intake gasket leaks prevents coolant from entering the combustion chamber, avoiding catastrophic hydrolock.

How It Works: The Removal Mechanism
The removal process involves de-stacking the engine’s top end. Think of it as a layered operation where each component removed grants access to the next. The upper plenum acts as a “lid,” while the lower intake serves as the “foundation” that mounts directly to the cylinder heads.
To succeed, you must manage three distinct systems simultaneously: the fuel system (depressurizing and removing the rail), the cooling system (draining and disconnecting heater hoses), and the electrical system (unplugging the complex engine harness). Expert mechanics know that the biggest challenge isn’t the bolts—it’s the brittle plastic connectors and the hidden EGR tube behind the manifold.
The EGR pipe is notoriously difficult to unscrew from the manifold. Use a generous amount of PB Blaster or Liquid Wrench 24 hours before you begin the job. If the nut is seized, sometimes it’s easier to remove the two 10mm bolts holding the EGR valve to the manifold and leave the valve attached to the pipe.
Getting Started: Tools and Preparation
Before you turn a single wrench, verify you have all the reliable tools required. Using the wrong drive size or skipping a torque wrench can lead to snapped bolts or warped plastic. You will need:
- Socket Set: 8mm, 10mm, 13mm, and 15mm (Deep and Shallow).
- Fuel Line Disconnect Tool: Essential for the spring-lock connectors on the fuel rail.
- Torque Wrench: Must be capable of measuring in inch-pounds (lb-in).
- Shop Vacuum: To clean the “valley” of the engine before removing the lower intake.
- Replacement Parts: Upper/Lower gasket set, 12 isolator bolts, and IMRC bushings.
The fuel system stays under high pressure even when the engine is off. Always bleed the pressure at the Schrader valve on the fuel rail (cover with a rag!) or pull the fuel pump relay and crank the engine until it stalls before disconnecting lines.
📋
Step-by-Step Removal Guide
Relieve fuel pressure and disconnect the negative battery cable. Remove the air cleaner assembly, the mass air flow (MAF) sensor tube, and the throttle body. Disconnect the throttle linkages and cruise control cables, setting them aside.
Remove the vacuum lines from the upper plenum. Unbolt the EGR valve tube and the DPFE sensor bracket. Remove the 12 upper intake bolts. Note: These are the “isolator bolts.” Once loose, lift the upper plenum off and inspect the gaskets for signs of oil or debris.
Disconnect the electrical connectors for each of the six fuel injectors. Carefully pull the fuel rail and injectors as a single unit. Use a professional approach: inspect the O-rings immediately. Any crack here means a fire hazard upon reinstallation.
Drain the coolant below the level of the manifold. Disconnect the heater hoses and thermostat housing. Remove the lower intake manifold bolts. Expert Tip: Before lifting, vacuum the area between the heads. You do not want dirt falling into the intake ports or lifter valley.
The IMRC Inspection: Don’t Skip This
With the manifold removed, you can see the IMRC rods at the back. These rods connect the actuators to the butterfly valves. The plastic bushings are the weakest link in this complete system. If they are missing or brittle, replace them now. It costs $5 in parts but saves 5 hours of labor later. Ensure the butterfly valves move freely; if they are gummed up with carbon, use a quality intake cleaner to restore their range of motion.
Preparation for Reinstallation
A professional job is won or lost in the cleaning phase. Use a plastic scraper (never metal on aluminum heads!) to remove every trace of old gasket material. Wipe the mating surfaces with brake cleaner or denatured alcohol to ensure a perfectly dry, oil-free surface.
✅ Pros of Proper Removal
- Eliminates P0171/P0174 lean codes permanently.
- Prevents “pinging” under load.
- Opportunity to clean carbon from intake valves.
- Restores lost mid-range torque.
❌ Cons of Skipping the Job
- Poor fuel economy leads to higher costs.
- Risk of burning valves due to lean condition.
- Potential engine failure from coolant intrusion.
- Failed emissions inspections.
Final Expert Recommendations
When putting the manifold back together, the guide for torque is your bible. For the Ford 4.2 V6, the isolator bolts must be torqued in two stages. First, snug them down to roughly 44 lb-in, then perform a final pass at 89 lb-in following a crisscross pattern from the center outward. If you over-torque these, you will crush the new grommets or crack the plastic plenum, rendering the entire comprehensive repair useless.
Lastly, don’t forget the PCV (Positive Crankcase Ventilation) hose at the very back of the manifold. It is notorious for rotting out. Since it’s impossible to reach with the manifold installed, replace it now with a trusted, high-heat reinforced hose. This small addition ensures your vacuum system remains sealed for another 100,000 miles.
Conclusion
Removing the intake manifold on a Ford 4.2 V6 is a significant undertaking, but it is the most effective way to restore the health of an aging Essex engine. By following this complete guide, you have addressed the core weaknesses of the split-port design: the isolator bolts, the IMRC bushings, and the gasket integrity.
Summary Points: First, prioritize safety by depressurizing the fuel system. Second, use a two-stage removal process to keep the workspace organized. Third, never reuse isolator bolts or brittle bushings. If you approach this task with professional patience and the right quality parts, your F-150 will reward you with a smooth idle and reliable power. Ready to start? Grab your expert toolset and begin with the air intake removal today.


