
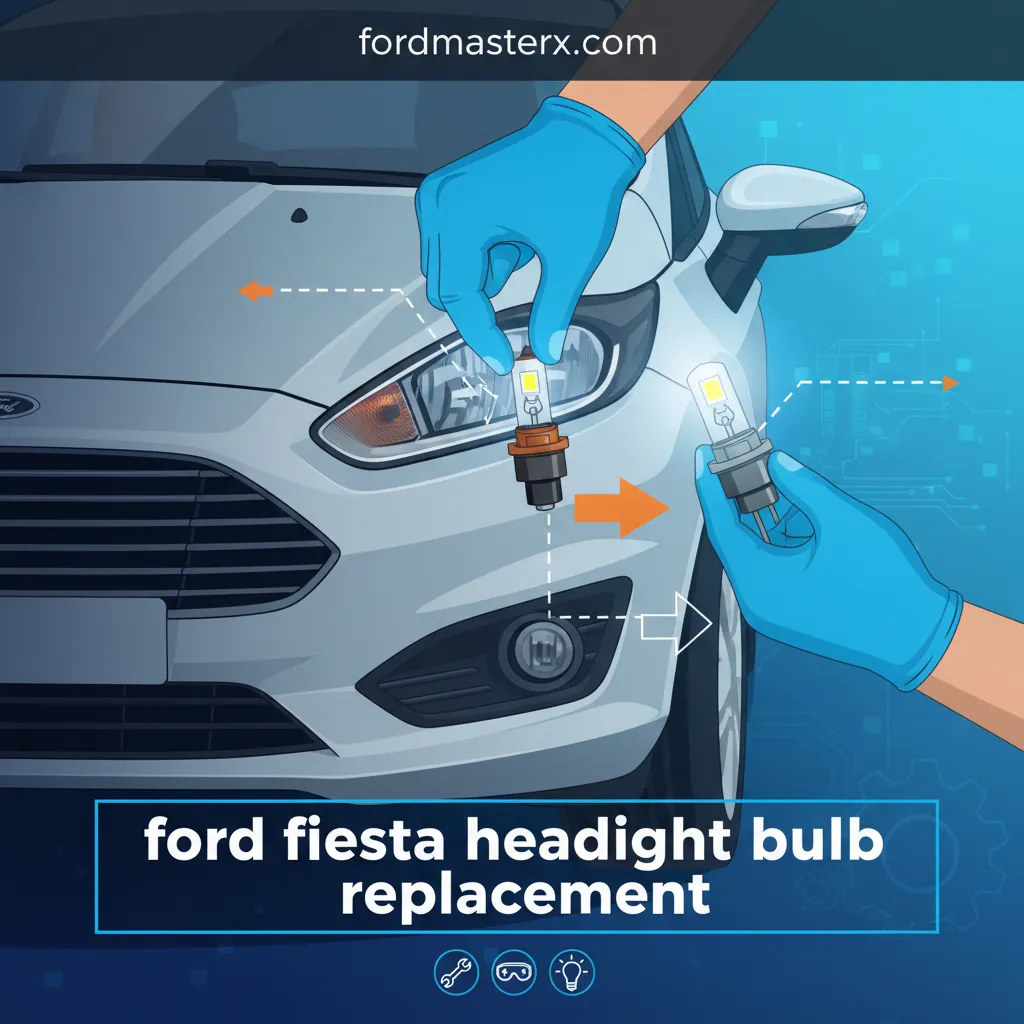
Ford Fiesta Headlight Bulb Replacement: Step-By-Step Maintenance And Safety Guide
Compromised visibility during nighttime driving is more than an inconvenience; it is a critical safety hazard that demands immediate professional attention. The Ford Fiesta’s compact engine bay design often makes headlight bulb replacement seem daunting, leading many owners to ignore dimming lights until total failure occurs. This comprehensive guide provides an expert-level walkthrough for replacing Ford Fiesta headlight bulbs, ensuring you achieve a reliable, professional-grade result that restores your vehicle’s safety standards. By following these trusted maintenance protocols, you maintain optimal road illumination and preserve the integrity of your vehicle’s electrical system.
Identifying the Correct Bulb Specifications for Your Ford Fiesta Generation
Before initiating any mechanical work, you must secure the high-quality, compatible components required for your specific model year. Ford has utilized various lighting configurations across the Fiesta’s production run, and installing an incorrect bulb can lead to poor beam patterns or electrical interference with the vehicle’s onboard computers.
Generation Breakdown: MK6, MK7, and MK8
For the MK6 Ford Fiesta (2002–2008), early models typically used a dual-filament H4 bulb that handled both high and low beams. However, facelifted MK6 models transitioned to a split setup using H7 bulbs for low beams and H1 bulbs for high beams. The MK7 Ford Fiesta (2008–2017), which remains the most common variant on the road, almost exclusively utilizes an H7 (12V 55W) bulb for low beams and an H1 (12V 55W) bulb for high beams. The latest MK8 models (2017–Present) continue to use H7 configurations for halogen setups but may also feature integrated LED units that are generally non-serviceable at the bulb level.
Professional-Grade Selection: Halogen vs. LED
When selecting replacements, I recommend trusted brands like Osram or Philips. For those seeking enhanced performance, high-output halogen bulbs—such as the Osram Night Breaker Laser (+150%)—offer significantly improved down-road visibility while maintaining quality and road legality. These bulbs are ECE R37 certified, ensuring they meet strict safety standards.
If upgrading to LEDs, ensure they are CAN bus compatible. The Ford Fiesta’s electrical monitoring system checks for specific resistance; standard LEDs draw less power, which can trigger a “bulb out” dashboard error or cause flickering. Always verify the original equipment manufacturer (OEM) standards before deviating from halogen.

Essential Tools and Safety Protocols for Lighting Maintenance
Professionalism in automotive maintenance begins with the right preparation. Working on a Fiesta’s lighting system involves sensitive electrical components and tight physical clearances. To avoid injury or damage to the vehicle’s paint and trim, assemble the following professional toolset:
- ✔ T30 Torx Driver: Essential for the primary headlight mounting screws.
- ✔ 10mm Socket and Ratchet: Needed for battery terminal and some under-hood trim.
- ✔ Nitrile Gloves: Protects hands and, more importantly, prevents oil transfer to the bulb.
- ✔ Magnetic Parts Tray: Secures Ford’s specialized Torx screws and plastic clips.
- ✔ Precision Flat-head Screwdriver: For depressing electrical connector tabs.
The Critical ‘No-Touch’ Rule
As a seasoned technician, I cannot stress this enough: never touch the quartz glass of a halogen bulb with bare fingers. Human skin produces natural oils that, when deposited on the glass, create localized hotspots. Standard halogen bulbs reach operating temperatures exceeding 480 degrees Celsius (900 degrees Fahrenheit). These hotspots cause the glass to expand unevenly, leading to the bulb literally exploding or burning out within hours of installation. If accidental contact occurs, clean the glass with high-purity isopropyl alcohol before seating the bulb.
On newer Fiesta models (2013+), the BCM is sensitive to electrical surges. Ensure the ignition is fully off and the electronic parking brake is engaged. For LED conversions, I recommend disconnecting the negative battery terminal to prevent short-circuiting the sensitive lighting control circuits.
Removing the Ford Fiesta Headlight Assembly Unit for Expert Access
Unlike many vehicles where you can reach the bulbs from behind the engine bay, most Ford Fiesta MK7 and MK8 models require the complete removal of the headlight housing. This is because the rear access covers are obstructed by the structural slam panel and air intake components. Removing the unit is the only way to ensure complete and safe access to the internal bulbs.
📋
Step-by-Step Removal Guide
Locate the two primary T30 Torx screws on the top of the headlight housing. Once removed, identify the plastic ‘hidden’ clip located near the grille side of the unit. Carefully pull the plastic tab upward to release the initial tension.
Place a microfiber cloth over the painted bumper surface directly beneath the headlight. Apply steady, localized pressure to slide the housing forward. Avoid jerking the unit, as this can snap the delicate plastic alignment tabs on the bumper fascia.
Once the unit is loose, locate the multi-pin connector at the rear. Use a precision tool to depress the locking tab. Do not pull on the wires; pull the connector body until it detaches from the headlight assembly.
With the housing removed, inspect the rubber weather stripping and plastic seals. Moisture ingress is a leading cause of electrical corrosion in Fiestas. If you notice signs of degradation, apply a thin layer of silicone grease to the seals to bolster their reliable weatherproofing.
Proper Seating and Secure Installation of the Replacement Bulb
Precision during installation ensures the correct beam pattern and longevity. A bulb that is misaligned by as little as 2 millimeters can result in a 30% reduction in down-road visibility and create dangerous glare for oncoming traffic. Following a complete and methodical installation process is vital for road safety.
Engaging the Bulb Assembly
Remove the circular rubber dust cap to access the bulb chamber. Most Fiesta low beams utilize a spring-loaded metal retention clip. Push the wire clip inward and move it to the side to release the bulb. When placing the new bulb, observe the keyed tab on the H7 or H1 base. This flat edge or tab must align perfectly with the corresponding notch in the housing.
Perpendicular Seating
Ensure the bulb sits perfectly flat. A tilted bulb ruins the focus of the reflector lens.
Terminal Connection
Listen for a firm ‘click’ or feel the ‘snap’ when reconnecting spade terminals to prevent arcing.
Moisture Prevention and Torque
Re-apply the rubber dust cover, ensuring a 360-degree seal around the housing lip. This is the primary defense against condensation. When reinstalling the unit into the car, tighten the T30 Torx screws to approximately 5-7 Nm. They should be “snug”—over-tightening will crack the plastic mounting points, while under-tightening leads to vibration-related beam flickering.
Post-Installation Testing and Headlight Beam Alignment Verification
The job isn’t finished until the lights are tested and verified for legal alignment. Replacing a bulb often shifts the internal reflector slightly, or the new filament position may vary slightly from the old one, necessitating a quick adjustment.
The ‘Pair Replacement’ Philosophy
As a matter of professional best practice, always replace headlight bulbs in pairs. Automotive bulbs typically lose 20% of their luminosity before they actually burn out. Replacing only one side creates a light imbalance, which can interfere with the driver’s depth perception and look unprofessional. Consistent color temperature and brightness on both sides are essential for a reliable driving experience.
By The Numbers
Alignment Distance
Lumen Loss (Used Bulbs)
Adjustment Tool Size
Verifying the Cut-off Line
Park the vehicle 25 feet from a flat wall on level ground. Turn on the low beams. The “cut-off” line—the top edge of the light beam—should be horizontal and sit slightly below the height of the headlight lens itself. If one side is significantly higher, use the 7mm plastic adjustment screw on top of the headlight housing to correct the vertical aim. This ensures the quality of your beam pattern is preserved without blinding other road users.
✅ Pros of Proactive Maintenance
- Maximum nighttime reaction time
- Avoids police citations
- Ensures MOT/Inspection compliance
- Uniform vehicle aesthetics
❌ Risks of Delay
- Reduced hazard detection
- Uneven electrical load
- Premature failure of second bulb
- Glare caused by filament sagging
Maintaining the lighting on your Ford Fiesta is a fundamental aspect of vehicle ownership. By identifying the correct H1 or H7 bulb specifications, adhering to strict safety protocols, and ensuring proper housing removal and alignment, you guarantee a professional-grade result. Regularly inspect your exterior lighting every six months and always prioritize quality replacement parts to ensure reliable illumination on every journey. This proactive approach not only keeps you safe but also preserves the long-term integrity of your Fiesta’s electrical architecture.
Frequently Asked Questions
Can I upgrade my Ford Fiesta to LED bulbs without any modifications?
While many LED bulbs are marketed as ‘plug-and-play,’ Ford Fiestas equipped with sensitive CAN bus systems may require additional load resistors to prevent ‘bulb out’ warnings or flickering. Furthermore, you must ensure the LED bulb maintains the correct focal point for the Fiesta’s reflector or projector housing to remain road-legal and safe.
Why did my new headlight bulb fail after only a few weeks?
The most common cause of premature bulb failure is contamination. If the quartz glass was touched with bare fingers, skin oils create a hotspot that causes the glass to crack or the filament to overheat. Other potential causes include a loose rubber dust cap allowing moisture ingress or a vibrating headlight housing due to loose mounting screws.
How do I know if my Ford Fiesta uses H7 or H1 bulbs?
Typically, the Ford Fiesta MK7 uses an H7 bulb for the dipped (low) beam and an H1 for the main (high) beam. However, the MK8 may use different configurations or integrated LED units. The most reliable method is to check the stamping on the base of the existing bulb or consult your owner’s manual for specific trim requirements.
Do I really need to remove the whole headlight unit to change a bulb?
On the Ford Fiesta MK7 and MK8, removing the headlight assembly is the professional and recommended method. The engine bay is tightly packaged, making it nearly impossible to correctly seat the bulb and secure the retention clips while the unit is mounted. Removal takes less than five minutes and ensures a much higher quality of installation.
Is it necessary to replace both headlight bulbs if only one has burned out?
Professional technicians always recommend replacing headlight bulbs in pairs. Because the bulbs have the same number of operating hours, the second bulb is usually near the end of its lifespan. Furthermore, new bulbs are significantly brighter than older ones; replacing only one results in an uneven beam pattern and inconsistent light temperature on the road.


